 Charonyu
Where to compress images: iPhone built-ins, websites, computers, and apps compared
For the occasional single image, the iPhone's built-in Preview or Shortcuts is enough. To hit an exact KB target for an ID or contract, an app that processes on your phone and lets you set a target size is easiest. Here is how each option differs.
 Charonyu・Article・

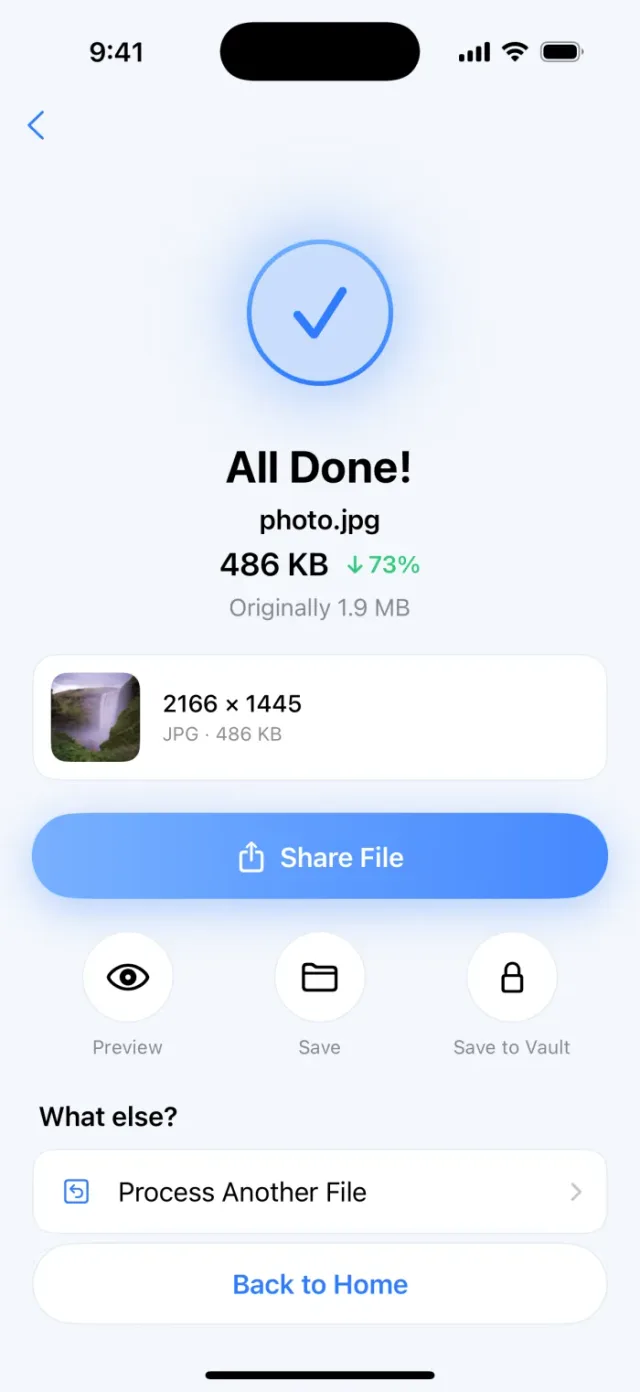
PassSize, mentioned in this guide, is currently in review · coming soon and can't be downloaded yet. Until it launches, you can use the built-in methods described here; this spot will turn into a download link once it is live.
Quick answer
There are roughly four places to compress an image: iPhone built-in features, online compression websites, computer software, and phone apps. For the occasional single image, the built-in Preview (from iOS 26) or Shortcuts is enough. To compress to a set size such as “500KB” or “2MB”, or if the file is an ID or contract, use an app that lets you set a target size and processes locally on your phone, such as PassSize, with no uploading and no repeated trial and error.
Ask yourself three things before choosing a tool
- Do you need an exact size? Registration and application systems often say “must not exceed 2MB”, so being able to specify a KB number matters most.
- Is the file sensitive? ID cards, bank books, contracts, and transcripts are best not uploaded to servers you do not know.
- How many at once? One or two can be done any way; a dozen or more calls for batch processing.
1. iPhone built-in features
Nothing to install. Apart from Mail, which goes through the mail server, everything below is processed on your phone:
- Cropping in the Photos app: Edit, then Crop, reduces pixels so the file gets smaller. Good for photos where trimming the edges is fine; do not crop ID photos or documents carelessly.
- Image size in Mail: add the photo to an email, and before sending you can choose Small, Medium, Large, or Actual Size. Sending it to yourself and saving the attachment takes many steps, you do not know how many KB it will be in advance, and the photo goes through the mail server, so this is not recommended for sensitive files.
- The Shortcuts app: combine Resize Image and Convert Image (to JPEG with adjustable quality) into a shortcut. Set it up once and reuse it from the share sheet, and it can also batch process, but you cannot directly set a target KB. For the full setup see How to batch-shrink photos with an iPhone shortcut.
- The Preview app (from iOS 26): iPhone Preview can open images in Files. Tap More, then Resize, to change pixels; from the menu by the file name tap Export to choose JPEG, PNG, HEIC, and other formats, and for JPEG/HEIC a Size slider lowers the file size. Photos must first be shared from the Photos app with Save to Files before they can be opened.
2. Online compression websites
Searching for “image compression” turns up many sites: you upload, then download a compressed version.
- Pros: work on computers and phones, and some let you set a target size or batch process.
- Cons: most sites upload your file to their server to process it; there are often ads and limits on file count or size; and you need internet.
- Exception: a few web tools say they process in the browser without uploading, but that only counts if the site says so clearly.
- Best for: non-sensitive ordinary photos, or when you have no other tool at hand.
Whether it is safe depends on how sensitive the file is and how the site handles it: landscape and event photos are usually fine; for IDs and contracts, read the privacy policy first or use a tool that processes locally. For how to check, see Are online image compressors safe?
3. Computer software
- Mac Preview: Tools, then Adjust Size, changes pixels; File, then Export, with JPEG chosen, lets you adjust the quality slider.
- Windows: the built-in Paint can resize and then save as JPG; professional photo editors give fine control over quality.
- Pros: big screen, precise controls, and the file stays on your own computer.
- Cons: the photo must first be sent from your phone to the computer, then back after compressing; and most still cannot set a KB number directly.
4. Phone apps
The App Store has many compression apps, and they differ mainly in three ways: whether you can set a target size, whether they process locally or upload to the cloud, and how they charge (subscription, one-time purchase, or ads). Read the app description and privacy label before downloading.
Comparing the options
| Option | Can set KB | File leaves phone while processing | Batch | Cost | Best for |
|---|---|---|---|---|---|
| Photo cropping | No | No | No | Free | Photos you can trim |
| Mail image size | No | Yes (through the mail server) | Possible but clumsy | Free | One or two non-sensitive photos |
| Shortcuts | No (only quality and size) | No | Yes | Free | People willing to set it up |
| Preview app (from iOS 26) | No (try with the slider) | No | No | Free | Adjusting one occasionally |
| Online compression sites | Some | Mostly yes (a few process in the browser) | Depends on the site | Mostly free with ads | Non-sensitive photos |
| Computer software | Mostly no | No (but you must send it to the computer first) | Depends on the software | Free to paid | Files already on the computer |
| PassSize | Yes | No | Yes | 5 free uses, then a one-time NT$60 purchase | Frequent submitters who care about privacy |
Easier with PassSize
PassSize is designed for “uploads with a size limit”:
- Choose 500KB, 1MB, 2MB or enter a custom size, and it finds the highest usable quality that does not exceed the target, shrinking dimensions only if it is still too large. The target is counted in units of 1000 with about a 2% buffer kept.
- You can also limit the dimensions at the same time, such as 1200x1200.
- You can type “limit 2MB” or “1200x1200 to JPG” and the app understands the limit.
- Pick photos in your library, tap Share, then PassSize, with no need to open the app separately.
- Compression, conversion, and combining into PDF are all processed on your iPhone, and files are not sent to the developer’s server.
- When it cannot reach the target, it tells you how many files are still over and suggests reducing the dimensions or adjusting the target; you still need to check format, dimensions, and clarity against the rules yourself.
For the actual steps see How to compress an iPhone photo to under 2MB.
A note: whichever tool you use, keep the original before compressing. Lossy compression is one-way; if it comes out badly you cannot “compress it back”, only redo it from the original.
Continue with the complete guide: The complete guide to compressing photos and PDFs on iPhone →
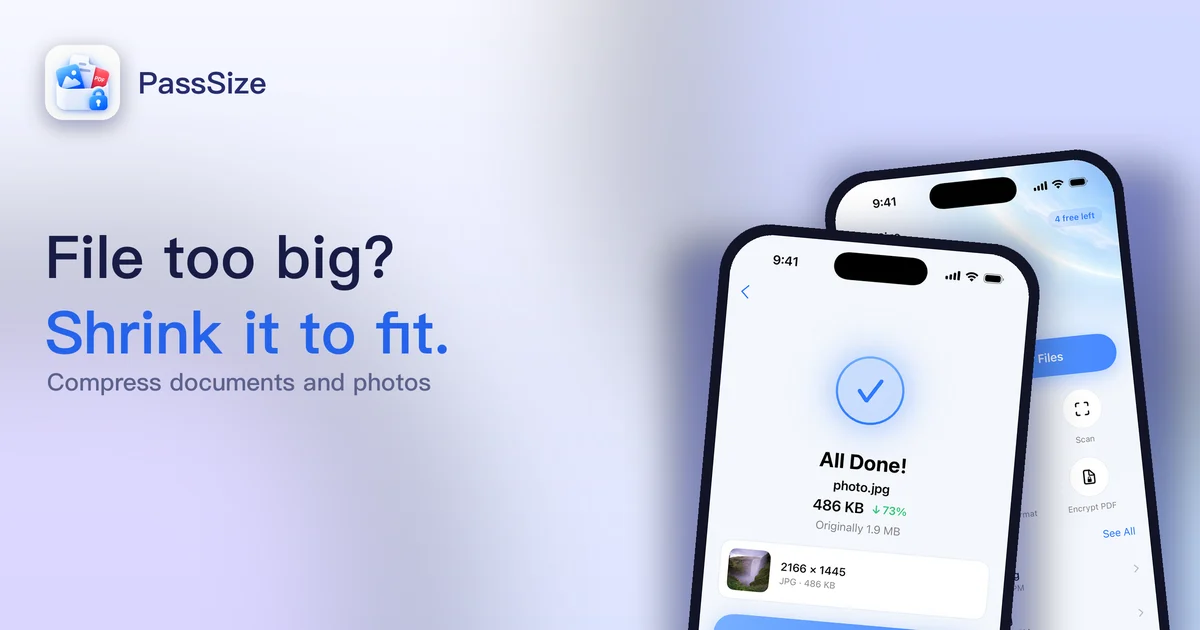
Disclosure: PassSize is an app developed by this site's author (Charonyu). The built-in methods and other options described here all work without downloading our app.
FAQ
Are online compression websites safe?
Most online sites upload your file to their server for processing, and how long it is kept or whether it is used for anything else depends on each site's privacy policy. A few sites say they process in the browser without uploading, but that only counts if they say so clearly. For ordinary landscape photos it matters little; for sensitive files such as IDs, contracts, and medical records, use a tool that processes locally.
Is there a free way to compress photos on iPhone?
Yes. You can crop the photo, choose a smaller image size when sending through Mail (it goes through the mail server), use the Resize Image and Convert Image actions in Shortcuts, or resize and export in the Preview app from iOS 26. None of these lets you directly specify "compress to 500KB", though.
Will compression make the photo lose its original quality?
Yes, JPEG compression is lossy, but moderate compression is usually hard to notice by eye. Always keep the original and save the compressed file as a separate copy.
What if I need to compress many photos at once?
Shortcuts can run in batch, but you need to set it up yourself. An app that can batch process and also set a size is most direct; PassSize also supports selecting multiple photos at once.