 Charonyu
How to compress an iPhone photo to under 2MB
Sign-ups, applications and document uploads often say "file must not exceed 2MB". Here are the built-in iPhone options, the pros and cons of each, and how to hit an exact size in one step with PassSize.
 Charonyu・Guide・

PassSize, mentioned in this guide, is currently in review · coming soon and can't be downloaded yet. Until it launches, you can use the built-in methods described here; this spot will turn into a download link once it is live.
Quick answer
iPhone has no built-in “compress to a set size” button, but you can adjust it yourself for free. On iOS 26, save the photo to Files, open it in the Preview app, adjust the pixels, “Export” as JPEG and shrink it with the Size slider, then check in the Files app whether it’s under 2MB and adjust again if not. You can also build a resize-and-convert-to-JPEG flow in Shortcuts and reuse it. To set 2MB directly, use an app that lets you choose a target size, such as PassSize: choose photos > choose 2MB > save. It finds the highest usable quality that stays within 2MB, and processes on your phone. Whichever method you use, check the format and dimensions again before submitting.
Supported versions and screenshot notes
- The Preview method in this guide applies to iOS 26. On iOS 18 you can use Shortcuts. Button names may change with minor system updates.
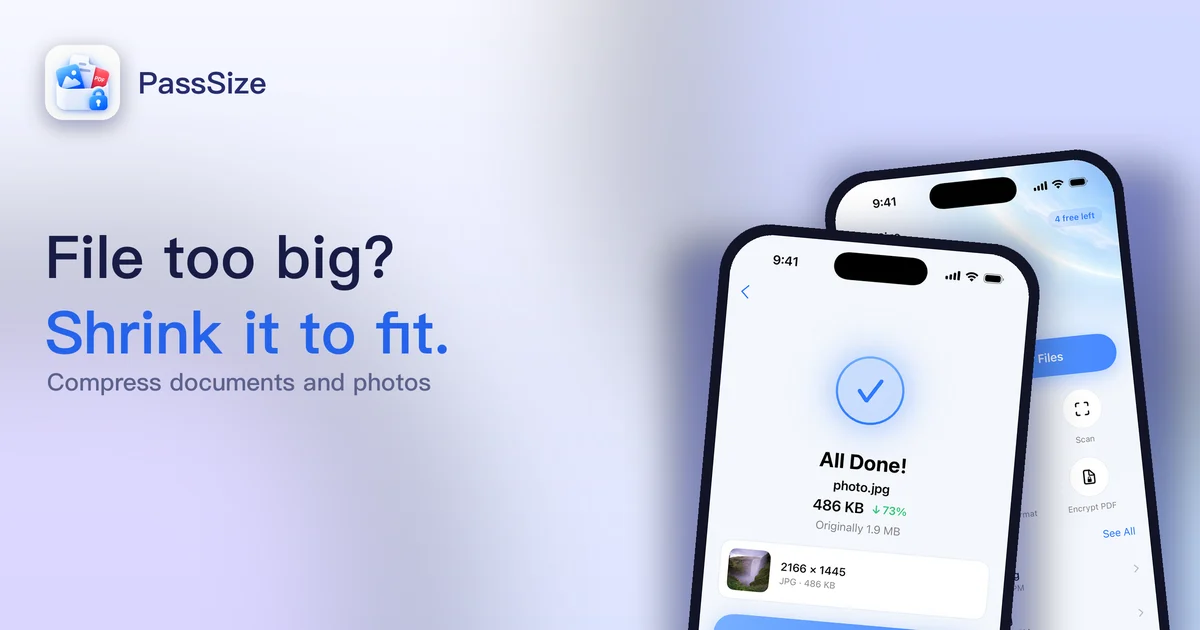
- PassSize requires iOS 18 or later, is still in App Store review, and can’t be downloaded yet. The screenshots below are from the actual development-build interface, using sample files to show where the controls are, not results from this test.
- Submit the exported copy and keep your original. After cropping, converting or compressing, check the size again.
Why are iPhone photos so big?
An iPhone’s main camera today is 12 to 48 megapixels, and one photo is often 2-8MB. With ProRAW on, a single photo can reach tens of MB. To save space, sign-up systems, schools and government websites often limit each photo to 2MB, 1MB or 500KB, so photos straight from the phone almost always go over.
File size comes down to two things:
- Resolution (width × height in pixels): more pixels means a bigger file.
- Compression quality: higher JPEG quality keeps more detail and makes the file bigger.
So to make it smaller, you lower the quality, reduce the dimensions, or both. For the details, see “How does image compression work?”.
Method 1: Crop the photo (built in, free)
Open the Photos app > choose a photo > Edit > Crop, and cut off edges you don’t need. Cropping reduces pixels, so the file gets smaller.
- Pros: nothing to install.
- Cons: it only gets smaller by cutting away part of the picture, and you can’t set a size. ID photos and documents usually can’t be cropped freely.
Method 2: Pick a smaller size in Mail (built in, free)
In the Mail app, start a new email and add the photo. Before sending, an “Image Size” option appears (Small, Medium, Large, Actual Size). Choose Medium or Large, send it to yourself, then save the attachment from the email.
- Pros: it’s also built in.
- Cons: many steps, you can’t know in advance how big each size will actually be, so you often have to try several times, and it’s slow for many photos.
- Note: the photo is sent through a mail server and saved back, so it isn’t processed only on your phone. We don’t recommend this for ID or contract files.
Method 3: The Preview app or Shortcuts (built in, free)
-
Preview app (iOS 26 and later): first go to Photos > Share > Save to Files, then open it in Preview. Tap More > Resize to change the pixels. From the menu next to the file name tap Export, choose JPEG, and lower the file size with the Size slider.
-
Shortcuts app: build a shortcut with “Resize Image” and “Convert Image” (to JPEG, adjusting quality). You can reuse it from the Share sheet and process several photos at once. For the full setup, see “How to batch-shrink photos with an iPhone Shortcut”.
-
Pros: built in, processed on your phone, and you can adjust both dimensions and quality.
-
Cons: you still can’t directly set 2MB. You adjust it yourself and then check the size in the Files app, and Shortcuts needs setting up.
Method 4: Online compression sites
Searching for “photo compressor” turns up many free sites. You upload the photo and download the compressed version.
- Pros: works on a computer or a phone.
- Cons: your photo is uploaded to someone else’s server. We don’t recommend this for ID, contract or identity documents. There are often ads and file count limits too. For more comparisons, see “Where is the best place to compress images?”.
Method 5: Compress to a set size with PassSize
PassSize is designed for uploads with size limits:
- Choose 500KB, 1MB, 2MB directly, or enter a custom size.
- It finds the highest usable quality that stays within the target, and only shrinks the dimensions if the file is still too large at the lowest quality.
- The target is counted in units of 1000 (2MB = 2,000,000 bytes) with about a 2% buffer, so the result is also under a 1024-based 2MB.
- If the limit is too low to reach, the app tells you how many files are still over the target and suggests reducing the dimensions or changing the target.
- You can also limit width and height (for example when a website requires 1200×1200).
- It handles several photos at once, and can convert HEIC to JPG at the same time.
- Compression happens on your phone. Your photos aren’t sent to the developer’s server.
The steps are as follows.
Comparing the methods
| Method | Can set 2MB | Photo leaves your phone | Batch | Cost |
|---|---|---|---|---|
| Crop in Photos | No | No | No | Free |
| Mail image size | No (approximate) | Yes (through a mail server) | Yes, but many steps | Free |
| Preview app / Shortcuts | No (you adjust it) | No | Shortcuts can | Free |
| Online compression site | Some can | Most do (a few process in the browser) | Depends on the site | Mostly free with ads |
| PassSize | Yes | No | Yes | 5 free uses, then a one-time NT$60 purchase |
A heads-up: before submitting, check the format the website requires (JPG / PNG / PDF) and the dimensions, and zoom in to make sure it’s clear and readable. A file that meets the size limit but is the wrong format will still be rejected.
What we actually measured
On 2026-10-08, on the iPhone 16 Pro simulator, iOS 18.4, we tested PassSize’s existing ImageProcessor compression engine. The input was a JPEG of gradient plus noise generated from a fixed seed, 4032×3024, 3,632,702 bytes, not a real portrait.
| Target | Actual output | Output pixels | Met target |
|---|---|---|---|
| 2MB (2,000,000 bytes) | 1,938,809 bytes (about 1.94MB) | 4032×3024 | Yes |
| 500KB (500,000 bytes) | 489,408 bytes (about 489KB) | 1933×1450 | Yes |
For the same test image, the original pixels were kept when compressing to 2MB, while the dimensions were reduced when compressing to 500KB. This shows that meeting the size limit doesn’t mean keeping the original resolution, so if a form specifies pixel dimensions, check those separately. This is an engine test, not a full test of submitting on a real device, and we didn’t test the sharpness of faces or text, so you can’t assume every photo gives the same result. All 7 existing engine tests also pass, and invalid JPG input is correctly rejected.
The size is fine but the upload still fails
| What you see | Check first | Next step |
|---|---|---|
| Rejected even though it’s under 2MB | Format, pixels, aspect ratio, minimum size | Re-read the website’s rules, not just the file size |
| The website still shows the original large file | Whether you picked the original or the output copy | Check the new file name in Files and select it again |
| Compressed very small but the text is unreadable | Not enough pixels after shrinking | Redo from the original with less compression, or split into pages |
| Still over the limit even when shrinking isn’t allowed | Lots of detail in the image, target too low | Check the minimum pixels and adjust within what’s allowed; not every file is guaranteed to reach the target |
Sources and next steps
The built-in export method is based on Apple: Export or compress images in Preview on iPhone. If you need to handle different limits for formats, photos and PDFs at once, follow the complete guide to compressing photos and PDFs by scenario.
Continue with the complete guide: The complete guide to compressing photos and PDFs on iPhone →
Steps
- 1
Import your photos
Open PassSize and choose the photos to compress from your library or the Files app. You can select several at once.
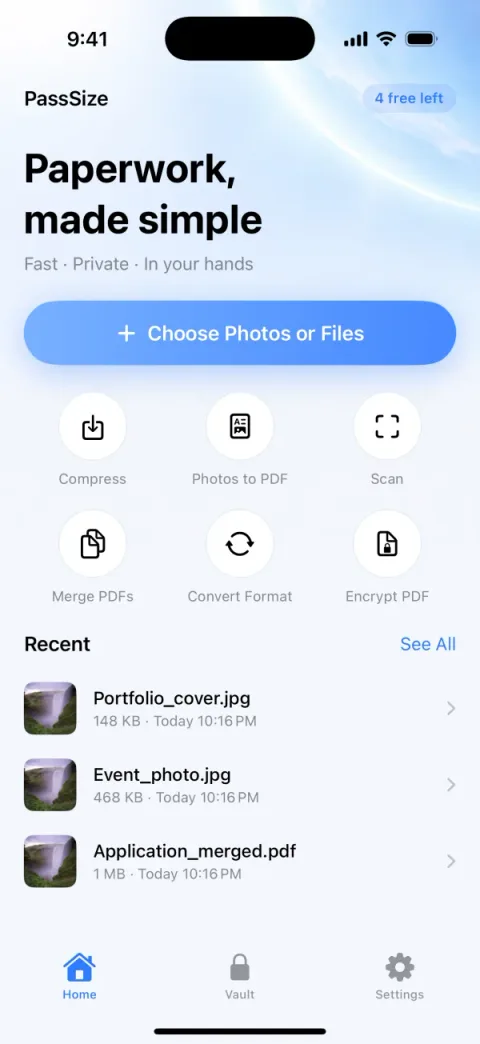
- 2
Set the size to 2MB
Choose Compress and tap 2MB as the target size. If the website also specifies width and height, you can limit those too, for example 1200×1200.
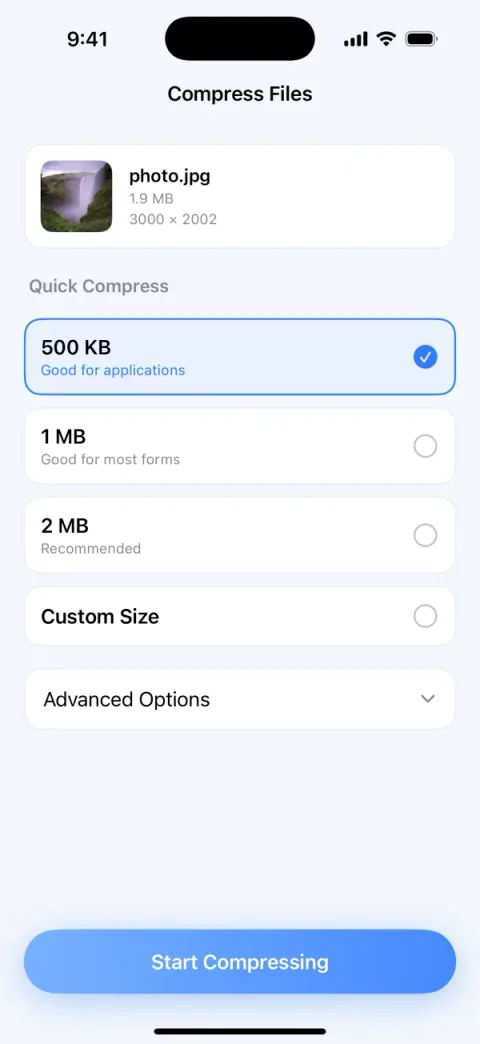
Development-build compression settings screenshot. The image shows 500KB as an example; for this guide, tap 2MB instead. The file numbers on screen are samples, not the engine test results below. - 3
Check the result and save
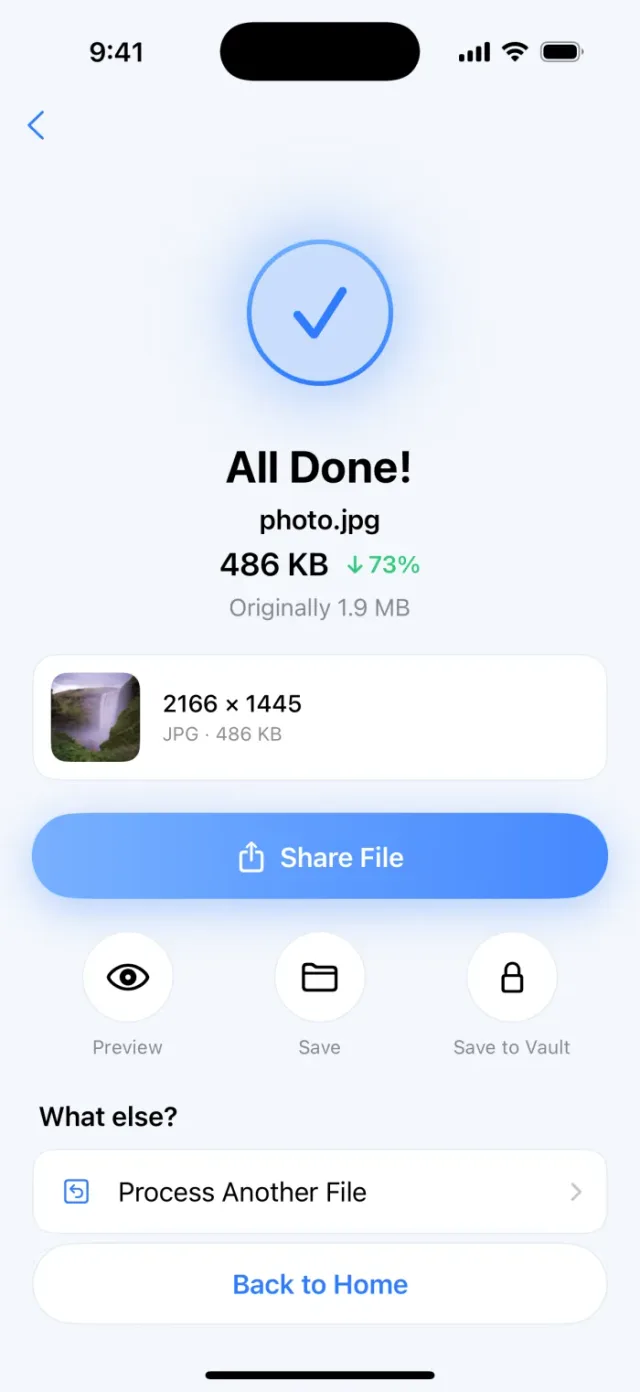
When it's done, you'll see the size and dimensions before and after. If it looks right, save to your photo library or share directly to where you need to upload it.
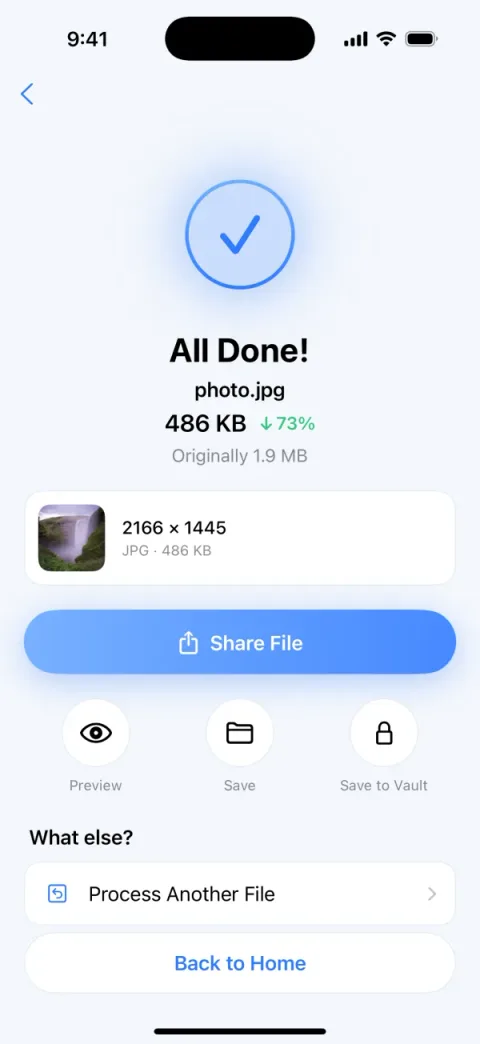
Screens are examples; actual file sizes vary by photo.
Disclosure: PassSize is an app developed by this site's author (Charonyu). The built-in methods and other options described here all work without downloading our app.
FAQ
Will compressing a photo make it blurry?
There is some quality loss, but for an ordinary phone photo, compressing to 2MB usually isn't noticeable. The common approach is to lower the JPEG quality first and only reduce the dimensions if that isn't enough. PassSize works in the same order: it first finds the highest usable quality that stays within the target, and only shrinks the dimensions if the file is still too big. After compressing, zoom in and check faces and text.
Why is the compressed file much smaller than 2MB?
The simpler the image content (for example an ID photo with a white background, or a document), the smaller the file at the same quality. Compression finds the highest usable quality that stays within the target, so the result is sometimes well below the target. That's normal.
Does the website mean 2MB as 2,000 KB or 2,048 KB?
Both are in use. The safe approach is to count in units of 1000 (2MB = 2,000,000 bytes), since the result is then also under a 1024-based 2MB and you won't be rejected on size because of how it's counted. You still need to check format, dimensions and other rules separately. PassSize counts in units of 1000 and also leaves about a 2% buffer.
Can I upload a HEIC photo directly?
Many sign-up, government and school websites accept only JPG or PNG. If you get a format error when uploading, convert the photo to JPG first and then compress it.
Does compressing a photo upload it to someone else's server?
Most online compression sites need to upload your photo to their server, and emailing it to yourself also passes through a mail server. Crop, Preview, Shortcuts and PassSize all process on your phone. For files like ID photos and contracts, we recommend processing locally to reduce what you hand to third parties.