 Charonyu
How does image compression work? Why do compressed images get blurry?
Images get smaller in two ways, lowering JPEG quality (dropping subtle detail) and reducing pixel dimensions. Compress too much and you get blur and blocky patches. To hit a set size and keep your pixels, lower the quality first and only shrink the dimensions if that isn't enough.
 Charonyu・Article・
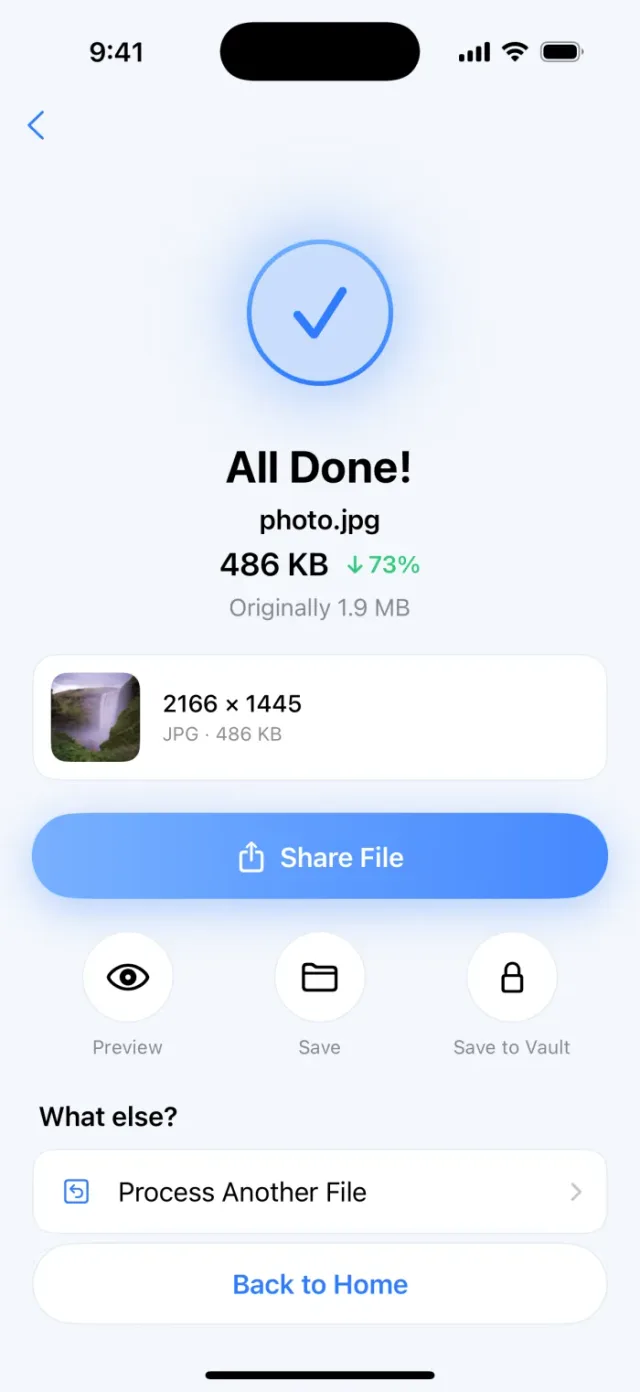
PassSize, mentioned in this guide, is currently in review · coming soon and can't be downloaded yet. Until it launches, you can use the built-in methods described here; this spot will turn into a download link once it is live.
Quick answer
There are two main ways to compress an image: lower the quality (lossy formats such as JPEG and HEIC throw away detail the eye doesn’t easily notice) and reduce the dimensions (fewer pixels). The harder you compress, the more detail is lost, and you start to see blur, blocky patches and jagged edges. To reach a set size while keeping your pixels, a common strategy is to lower the quality moderately first, and shrink the dimensions only if that’s really not enough. If a website already specifies pixel dimensions, shrink to those first and then adjust quality. A tool that can set a target size (such as PassSize) searches for the highest usable quality within the target and shrinks the dimensions only when needed.
What’s the difference between lossy and lossless compression?
- Lossless compression: like packing text files into a ZIP, nothing is lost when you unpack it. PNG is lossless and suits screenshots, charts and text-heavy images. How much it saves depends on the picture: screenshots and icons with large areas of one color shrink a lot, while detailed photos save little, and saved as PNG they get very large.
- Lossy compression: JPEG and HEIC belong here. It analyzes the picture and simplifies or discards the parts the eye is less sensitive to (such as subtle color changes and fine high-frequency detail), in exchange for a much smaller file.
For ordinary photos lossy compression is a good deal: a JPEG is often a small fraction of the lossless size while looking nearly the same to the eye. HEIC is iPhone’s default format and is usually smaller than JPEG at the same quality, though many websites don’t accept it. See What is HEIC?
What does JPEG “quality” actually adjust?
JPEG splits the picture into small blocks and then decides how much detail to keep in each block. The quality setting adjusts how much is kept:
- High quality: most detail is kept and the file is large.
- Medium quality: subtle detail is dropped, the file gets much smaller, and an ordinary photo looks almost the same.
- Very low quality: even visible detail is simplified, and you start to see blocky patches, banding in the sky and speckles around the edges of text.
So blur after compression usually means the quality was pushed too low or the dimensions were shrunk too far.
Why does reducing dimensions also make the file smaller?
File size is directly related to the number of pixels. A 4000×3000 photo has 12 million pixels. Shrunk to 2000×1500 it has only 3 million, a quarter as many, and the file usually shrinks a lot with it.
The price of shrinking dimensions is less detail when you zoom in. But many uploads don’t need that many pixels. A website might show a profile photo at only a few hundred pixels wide. For how pixels, dimensions and file size relate, see What does a 1200×1200 photo size mean?
Why are screenshots saved as PNG so large?
iPhone screenshots are PNG by default, which is a lossless format. A screenshot has as many pixels as the screen, and every pixel is stored in full, so one is often several MB. If you just need to attach a screenshot to an application, converting to JPEG usually makes it much smaller. But small text in a screenshot easily picks up speckles at low JPEG quality, so don’t push the quality too low.
Why can’t you compress forever?
Every lossy compression throws away information, and there is a floor:
- Even at the lowest quality the file still has some size, because each pixel block has to keep a little data.
- Beyond that, the only option left is shrinking the dimensions, and below a certain number of pixels you can’t recognize a face or read text.
- Compressing an already compressed JPEG adds new distortion on top of the old, so quality drops faster than you’d expect.
So “squeeze a 10MB photo to 50KB and keep it very clear” usually can’t be done. A reasonable target depends on what the image is for.
Lower the quality first, then shrink the dimensions
To reach a set size (for example 2MB) while staying as clear as possible, a better order is:
- Try high quality first: if it’s already under the target, there’s no need to do anything more.
- Look for the answer within the quality range: use “binary search”, going back and forth between high and low quality and taking the midpoint each time. Within a few tries you find the highest quality that just stays under the target, without stepping down one notch at a time.
- Only if the quality is at its floor and the file is still too big, shrink the dimensions: scale down proportionally and repeat the steps above.
The reason to lower quality first is that a moderate quality drop is usually hard for the eye to see, while shrinking dimensions directly reduces detail. This is the strategy for when you want to keep the pixels, not the only answer for every case. If the website only wants 600×800 anyway, shrinking to the required pixels first and then adjusting quality is more direct.
Compress automatically to a set size with PassSize
The “compress to a set size” feature in PassSize works on this logic. You choose 500KB, 1MB, 2MB or a custom size, and it searches for the highest usable quality that doesn’t exceed the target, shrinking the dimensions only if the quality is at its floor and the file is still too big. If it still can’t reach the target, it tells you how many files are still over and suggests reducing the dimensions or changing the target. You can also limit the width and height at the same time (for example 1200×1200), and the whole process runs on your iPhone. Afterwards, zoom in to check that text and faces are still clear. For the actual steps, see How do I compress an iPhone photo to under 2MB?
Tip: don’t compress a file that has already been compressed over and over. When you need a different target size, go back to the original and compress it again, and the quality will be much better.
Continue with the complete guide: The complete guide to compressing photos and PDFs on iPhone →
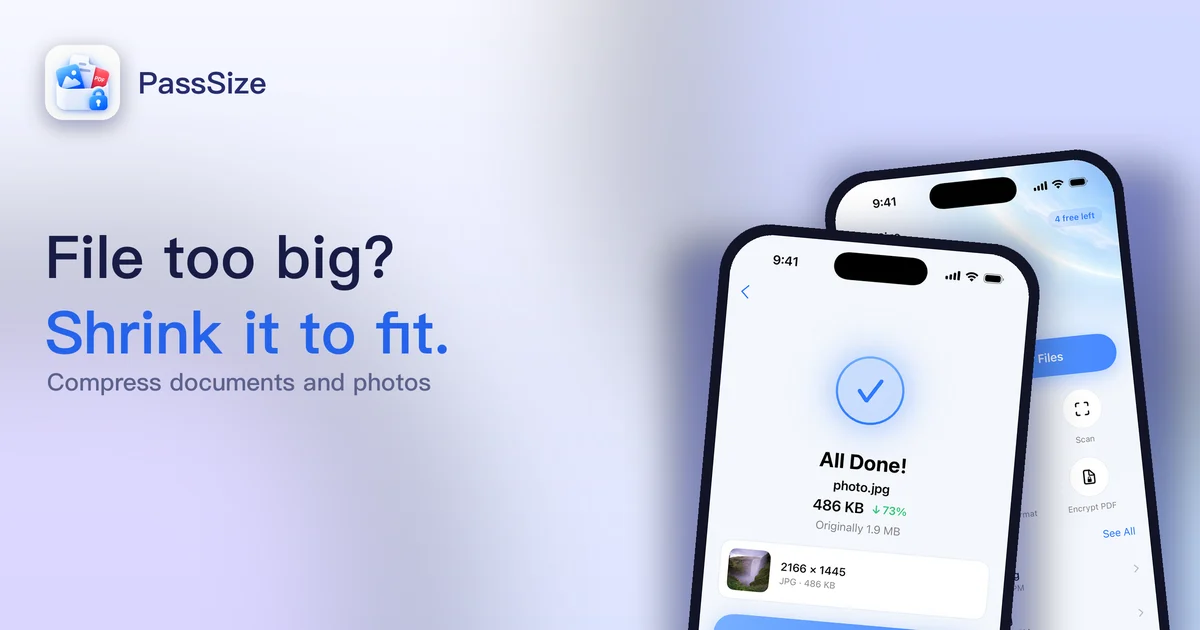
Disclosure: PassSize is an app developed by this site's author (Charonyu). The built-in methods and other options described here all work without downloading our app.
FAQ
What's the difference between lossy and lossless compression?
Lossless compression (such as PNG) decompresses to exactly the original image. It usually saves little on photos but a lot on screenshots and icons with large areas of one color. Lossy compression (such as JPEG and HEIC) throws away detail the eye doesn't easily notice in exchange for a much smaller file.
Can a compressed photo become sharp again?
No. Information thrown away by lossy compression doesn't come back, and enlarging can't restore detail. Saving again in a lossy format can add another layer of distortion, so keep the original.
Why are screenshots saved as PNG so large?
PNG is a lossless format that stores every pixel in full, and phone screenshots have many pixels, so they get big. If you just need to upload it, converting to JPEG usually makes it much smaller.
What JPEG quality setting is best?
There's no fixed answer, because it depends on the photo. For an ordinary photo, the difference is hard to see at medium to high quality, and blocky patches only appear clearly at very low settings. A tool that can set a target size searches for the highest usable quality within the target.