 Charonyu
How to batch-shrink photos and convert to JPG with an iPhone Shortcut (no app needed)
Chain four actions in the built-in Shortcuts app: Select Photos > Resize Image > Convert Image (JPEG, set quality) > Save to Photo Album, to shrink several photos and convert them to JPG at once. The downside is you can't set a file size, so you check it yourself and lower the settings if it's over.
 Charonyu・Guide・
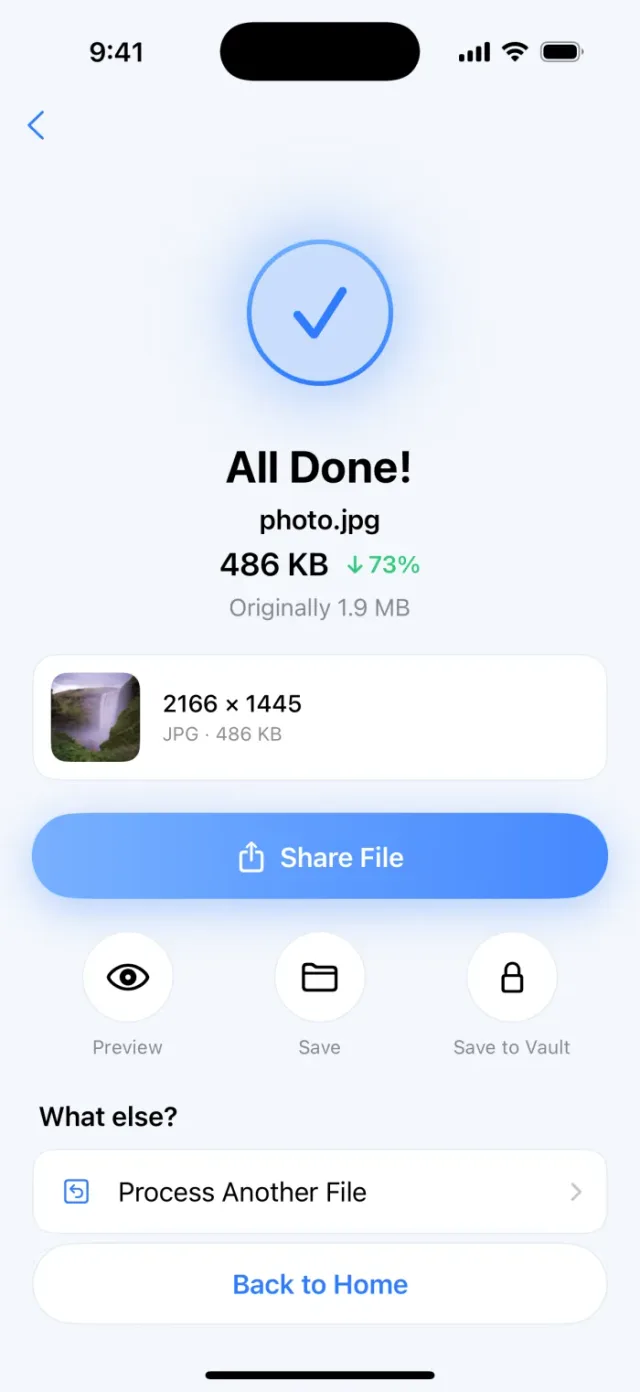
PassSize, mentioned in this guide, is currently in review · coming soon and can't be downloaded yet. Until it launches, you can use the built-in methods described here; this spot will turn into a download link once it is live.
Quick answer
Open the Shortcuts app and create a new shortcut with four actions in this order: Select Photos > Resize Image > Convert Image > Save to Photo Album. Set the width to 1600-2000, choose JPEG as the format, set quality to about 70%-80%, and turn off Preserve Metadata. Then run the shortcut and tick several photos at once, and it saves shrunken JPGs. Shortcuts can’t set 2MB or 500KB directly, so after saving, check the size yourself and lower the width or quality if it’s over.
What does this shortcut do?
A photo’s file size comes down mainly to two things: pixel dimensions and compression quality (see “What does a photo size like 1200×1200 mean?” for the principle). This shortcut handles both at once:
- It reduces the photo’s width to the pixel count you set, and the height is calculated proportionally so it isn’t distorted.
- It converts to JPEG at lower quality, so HEIC photos also become JPG.
- It saves a new photo to your library, and your original photo isn’t changed.
Step 1: Create the shortcut
- Open the Shortcuts app and tap ”+” at the top right to add a new shortcut.
- Search for and add Select Photos. Tap the expand arrow on the action and turn on the option to select several at once (Select Multiple).
- Add Resize Image. Change the width to, for example, 1600 and leave the height on “Auto”, and it shrinks proportionally.
- Add Convert Image and choose JPEG as the format. Tap the expand arrow and you’ll see:
- Quality: start around 0.7-0.8 (about 70%-80%).
- Preserve Metadata: we recommend turning it off for submissions.
- Add Save to Photo Album and choose which album to save to, for example Recents or a separate album for submissions.
- Tap the shortcut name at the top and rename it to something memorable, such as “Shrink to JPG”, then tap Done.
Tip: if what you need is a file, replace the last step with Save File and save to the Files app. When you upload to a website later you can choose it from Files, which makes the actual size easier to confirm.
Step 2: Add it to the Share Sheet (optional)
Apple’s Shortcuts User Guide explains that if you open Details in the shortcut editor and turn on Show in Share Sheet, the shortcut can run from the Share button in other apps.
Once it’s on, a section appears at the top of the editor that defines “what input it accepts”. We suggest ticking only image types. You can then delete Select Photos so that Resize Image handles the shared photos directly (tap the variable in the action and change it to “Shortcut Input”). After that, in the Photos app select several photos > Share > scroll down and tap this shortcut.
Step 3: Check the result
- Photos app: open the newly saved photo and swipe up or tap the info button to see the file size and pixel dimensions.
- Files app: press and hold the file > Get Info to see the size and kind.
What if it’s still too big?
Adjust in order, changing one setting at a time and trying again:
| Situation | Suggested change |
|---|---|
| Over by a little | Lower quality from 0.8 to 0.7 |
| Over by a lot | Lower width from 1600 to 1200 or 1000 |
| Website wants under 500KB | Start with a width of about 1000-1200 and quality 0.6-0.7 |
| Still over even at very low settings | Check whether you picked a very long screenshot or a panorama, which need separate handling |
The numbers are only a starting point, and the actual size varies with the photo content. An ID photo on a white background shrinks easily, while a landscape with lots of detail stays bigger. For how a website’s MB limit is actually counted, see “Is 1MB 1000KB or 1024KB?”.
Limits of Shortcuts
- You can’t set a target size. You can only adjust dimensions and quality and confirm the resulting size yourself, so when the size rule is strict you often have to try several times.
- One set of values for everything. If a batch mixes large and small photos, the resulting sizes can differ a lot.
- When a website needs an exact width and height (for example 600×800), shrinking only the width isn’t enough. Crop to the same ratio first, see “How to crop a photo to exactly 600×800 without distortion”.
To hit an exact size: use PassSize
If you often run into rules like “must not exceed 2MB / 500KB”, PassSize saves you the repeated trying:
- Choose 500KB, 1MB, 2MB or a custom size directly. It automatically finds the highest usable quality within the target, shrinks the dimensions only if that isn’t enough, and warns you when it really can’t reach it.
- You can also limit width and height at the same time, for example 1200×1200.
- HEIC can be converted to JPG or PNG. In the advanced options you can choose whether to keep photo info like capture time and location, and by default it’s not kept.
- Choose photos in your library > Share > PassSize, with no need to open the app. Everything is processed on the iPhone, with no upload.
A heads-up: Shortcuts saves a “new photo” and your original is still in your library. When you submit, make sure you pick the shrunken one. Saving to a dedicated album first makes it harder to pick the wrong one.
Continue with the complete guide: The complete guide to compressing photos and PDFs on iPhone →
Steps
- 1
Create a shortcut and add actions
In the Shortcuts app, create a new shortcut and add, in order, Select Photos (with multiple selection on), Resize Image, Convert Image (choose JPEG and set the quality) and Save to Photo Album.
- 2
Set width and quality
For submissions, start with a width of 1600 and a quality of about 0.7. If the website specifies pixel dimensions, enter the required width directly.
- 3
Run it and check the size
After running, check the size in the info for the file in Files or Photos. If it's over the limit, lower the width or quality and run it again.
Disclosure: PassSize is an app developed by this site's author (Charonyu). The built-in methods and other options described here all work without downloading our app.
FAQ
Can Shortcuts compress a photo straight to 2MB or 500KB?
The built-in actions have no "set target size" option, only pixel width and JPEG quality. The approach is to run it once with a set of values, check the size, and lower the width or quality again if it's over.
Does Shortcuts upload my photos to the internet?
Actions like Resize Image and Convert Image run on the iPhone. As long as your shortcut has no upload or send actions, your photos aren't sent anywhere.
Why doesn't my shortcut appear in the Share Sheet for photos?
Turn on "Show in Share Sheet" in the shortcut's Details. Once it's on, scroll down in the Share Sheet and you'll find it.
Should I turn Preserve Metadata on or off?
For photos you're submitting, we recommend turning it off, so details like where it was taken and the device don't go out with the file, and the file is slightly smaller. Turn it on only if you want to keep things like the capture date.