 Charonyu
How to convert HEIC photos to JPG on iPhone
Convert existing HEIC photos to JPEG with Quick Actions > Convert Image in Files, or export from the Preview app on iOS 26. To shoot JPG from now on, go to Settings > Camera > Formats and choose Most Compatible.
 Charonyu・Guide・

PassSize, mentioned in this guide, is currently in review · coming soon and can't be downloaded yet. Until it launches, you can use the built-in methods described here; this spot will turn into a download link once it is live.
Quick answer
For HEIC photos you’ve already taken, save them to Files first, then in the Files app press and hold the photo > Quick Actions > Convert Image > choose JPEG. On iOS 26 you can also open the photo in the Preview app and “Export” it as JPEG. To make future photos JPG automatically, go to Settings > Camera > Formats and choose “Most Compatible”. If you also need to shrink the file to a specific size, PassSize can convert and compress in the same app.
First, decide: convert old photos or change future ones?
- Photos you’ve already taken: you need a conversion tool to export a JPG copy. The original HEIC won’t change by itself.
- Photos you’ll take later: just change the camera setting, but it doesn’t affect photos that already exist.
If you want to know what HEIC actually is and why websites reject it, read “What is HEIC, and why do websites reject it?” first.
Method 1: Convert Image in the Files app (built in, free)
- In the Photos app, select the photos, tap Share > Save to Files, and save them to any folder in On My iPhone or iCloud Drive.
- Open the Files app and find the photo you just saved.
- Press and hold the photo > Quick Actions > Convert Image.
- Choose JPEG as the format, then choose an image size (pick the largest, original size if you want to keep the original resolution).
- The converted JPG appears next to the original file.
For several photos, tap ”…” at the top right > Select, choose the photos, then tap ”…” at the bottom right and choose Convert Image.
- Pros: no app to install, and batch conversion works.
- Cons: you have to save to Files first, so there are more steps, and you can’t set a file size.
Method 2: Export from the Preview app on iOS 26
Starting with iOS 26, iPhone has a built-in Preview app that can export images to other formats:
- Open the photo in Preview.
- Tap the menu button next to the file name > Export.
- Choose JPEG as the format. If you need to, adjust the file size with the slider.
- Choose where to save and save it.
- Pros: you can shrink the file with the slider at the same time.
- Cons: it’s easier one photo at a time, and the slider is by feel, so you can’t hit an exact target like “exactly 2MB”.
Method 3: Automatic JPEG conversion when transferring to a computer
When you import photos to a Mac or Windows PC with a cable, iPhone can convert them to a compatible format automatically. Check that Settings > Apps > Photos > Transfer to Mac or PC is set to “Automatic” (before iOS 18 the path was Settings > Photos). If you choose “Keep Originals”, HEIC stays HEIC.
This only applies to USB transfers. Syncing to a computer through iCloud doesn’t convert anything.
Method 4: Shoot JPG from now on
Settings > Camera > Formats > choose “Most Compatible”. New photos will be JPEG (and videos H.264). To go back to the more space-saving format, choose “High Efficiency”.
The downside is that the same photo takes up more storage, so if you only need to upload occasionally, keep High Efficiency and convert when you need to.
Method 5: Convert with PassSize and compress to a set size at the same time
Many websites require both “JPG format” and “no larger than 2MB / 500KB”. PassSize can:
- Convert HEIC to JPG or PNG, several photos at a time.
- Then, if needed, use Compress to set 500KB, 1MB, 2MB or a custom size, and also limit width and height.
- Work from the Photos app: select photos > Share > PassSize, with no need to open the app separately.
- Do everything on your phone, so your photos are not uploaded to a server.
Comparing the methods
| Method | Handles old photos | Can set file size | Batch | Cost |
|---|---|---|---|---|
| Convert Image in Files | Yes | No | Yes | Free |
| Export in Preview (iOS 26) | Yes | No (slider only) | Easier one at a time | Free |
| Auto-convert when transferring to a computer | Yes | No | Yes | Free, needs a computer |
| Camera set to Most Compatible | No, only affects new photos | No | N/A | Free |
| PassSize | Yes | Yes | Yes | 5 free uses, then a one-time NT$60 purchase |
A heads-up: a JPG is usually somewhat larger than the HEIC. If the website has a size limit, check the size again after converting, or see “How to compress an iPhone photo to under 2MB”.
Supported versions and where the screenshots come from
This article covers common steps on iOS 18 and iOS 26. The Preview app method is iOS 26 only. If you can’t find the Convert Image menu, you can use the Shortcuts resize-and-convert-to-JPEG flow. PassSize requires iOS 18 or later and is still in App Store review. The steps use the actual interface of the development build, and the sample files don’t represent measured numbers.
Our HEIC to JPG test
On 2026-10-08, using the iPhone 16 Pro simulator on iOS 18.4, we generated a 4032×3024 gradient-noise image from a fixed seed, exported it as a HEIC, then converted it with PassSize’s existing ImageProcessor to a JPG at 90% quality, with Keep Exif turned off.
| Item | Result |
|---|---|
| HEIC input | 2,335,211 bytes |
| JPG output | 3,240,215 bytes |
| Format identified by the image decoder | public.jpeg (a real JPEG) |
| Output pixels | 4032×3024 |
The conversion worked, but the file grew by about 39%, so check the file size again after converting HEIC to JPG. This is an engine test on a synthetic sample. We didn’t test HDR on a real device, Live Photo motion or a full multi-photo batch, so don’t assume those effects are preserved.
If it still fails after converting
- Don’t just rename the extension: renaming .heic to .jpg doesn’t re-encode the file, and the website may still recognize it as HEIC. Use a real conversion feature.
- Check that you picked the output copy: the original HEIC may still be in the same place, so choose the new JPG when selecting a file. Press and hold the new file to view its info.
- Check the file size: if the conversion worked but the file is still over 2MB / 500KB, compress it next.
- Check pixels and appearance: HDR brightness, color and motion photos may look different after JPEG export. Keep the original file.
Sources and where to read next
Camera settings and transfer formats are based on Apple: Use HEIF or HEVC media, and the iOS 26 export is based on Apple: Export images in Preview. If you need to handle both size and format, continue with the complete guide to compressing photos and PDFs.
Continue with the complete guide: The complete guide to compressing photos and PDFs on iPhone →
Steps
- 1
Choose the photos to convert
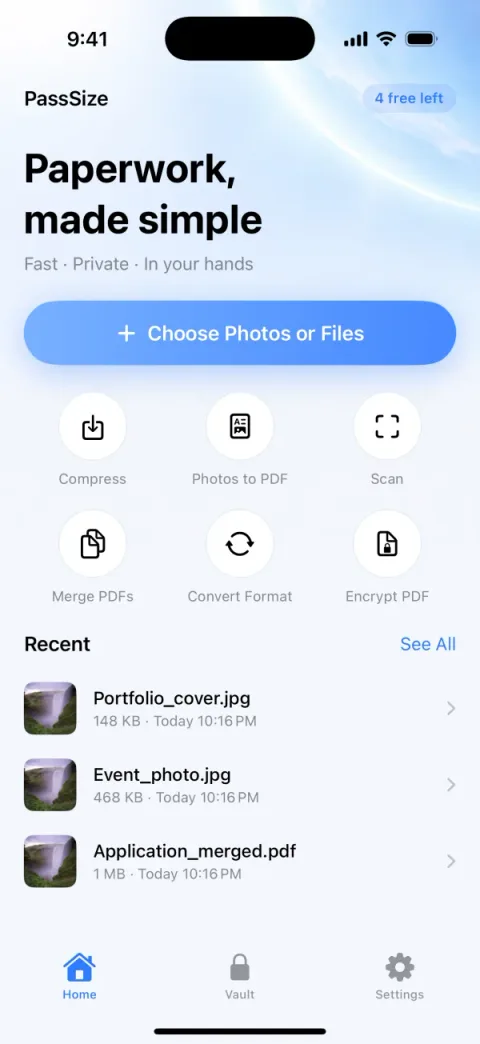
Open PassSize and tap "Convert format", then choose HEIC photos from your library or the Files app. You can select several at once.
- 2
Choose JPG
Set the target format to JPG (PNG is also available). If the website also has a size limit, use Compress to set 2MB, 500KB or a custom size.
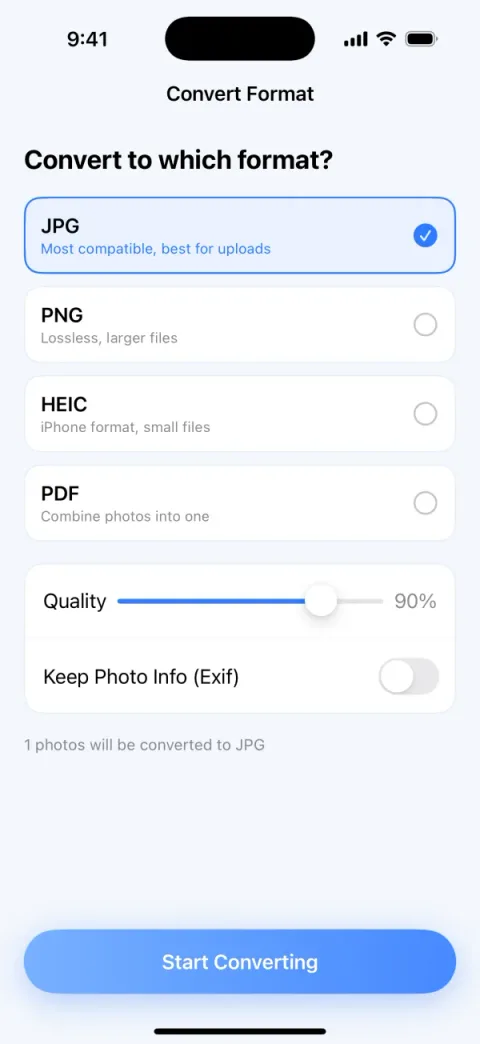
The actual conversion screen in the development build, with JPG selected. This shows where the controls are; see the body text for HEIC test results. - 3
Save or share directly
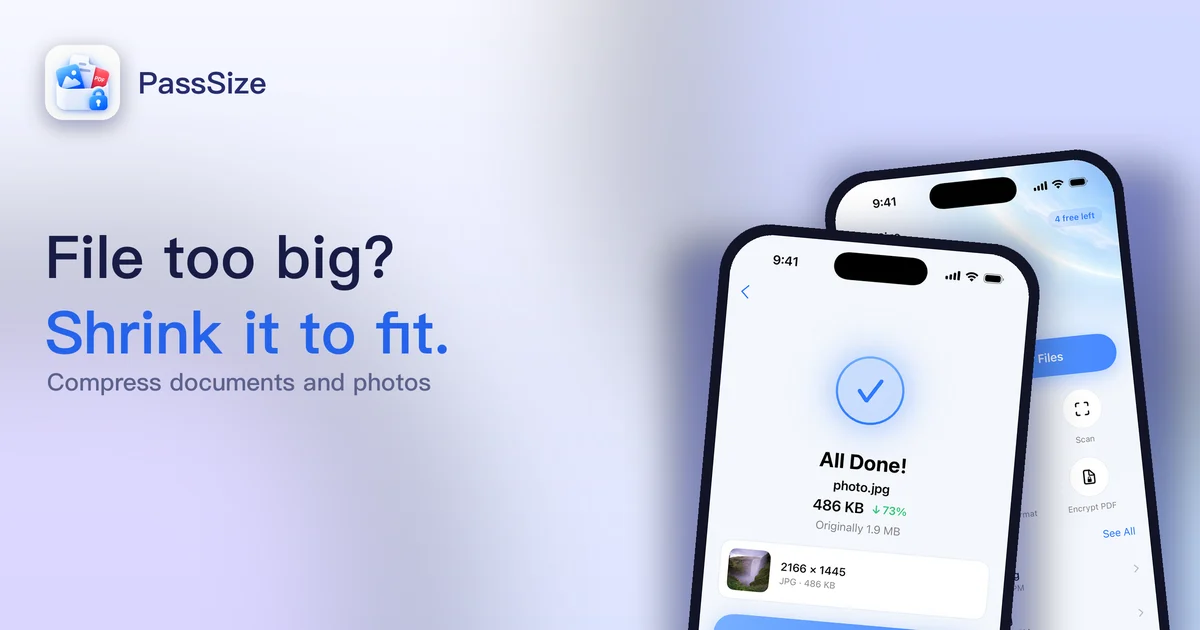
When it's done, save to your photo library or share straight to where you need to upload it.
Screens are examples; actual file sizes vary by photo.
Disclosure: PassSize is an app developed by this site's author (Charonyu). The built-in methods and other options described here all work without downloading our app.
FAQ
If I switch the camera to Most Compatible, will my old photos become JPG?
No. Most Compatible only affects photos and videos you take from now on. HEIC photos that already exist have to be converted separately.
Does converting HEIC to JPG make the photo blurry?
If you export at the original size (keeping all pixels), ordinary photos usually look the same. But JPG is also a lossy format, and the file is generally larger than the HEIC. The brightness effect of HDR photos may differ.
If I send a photo by AirDrop or email, does the other person get a HEIC?
Not necessarily. According to Apple, if the receiving device doesn't support HEIF, the system may automatically share it as JPEG instead. Whether it gets converted when you upload to a website depends on the browser and the site, so the safest approach is to convert it first.
Why does the website say the format is wrong when my file is clearly a photo?
iPhone shoots in HEIC by default, and many registration, school and government websites only accept JPG or PNG, so they reject it. Convert to JPG and upload again.