 Charonyu
How to combine multiple photos into one PDF on iPhone
Save the photos to Files from the Photos app, then in the Files app select them and choose Create PDF from the "..." menu to merge them into one PDF. To control page order, paper size or file size, use PassSize's photos to PDF.
 Charonyu・Guide・

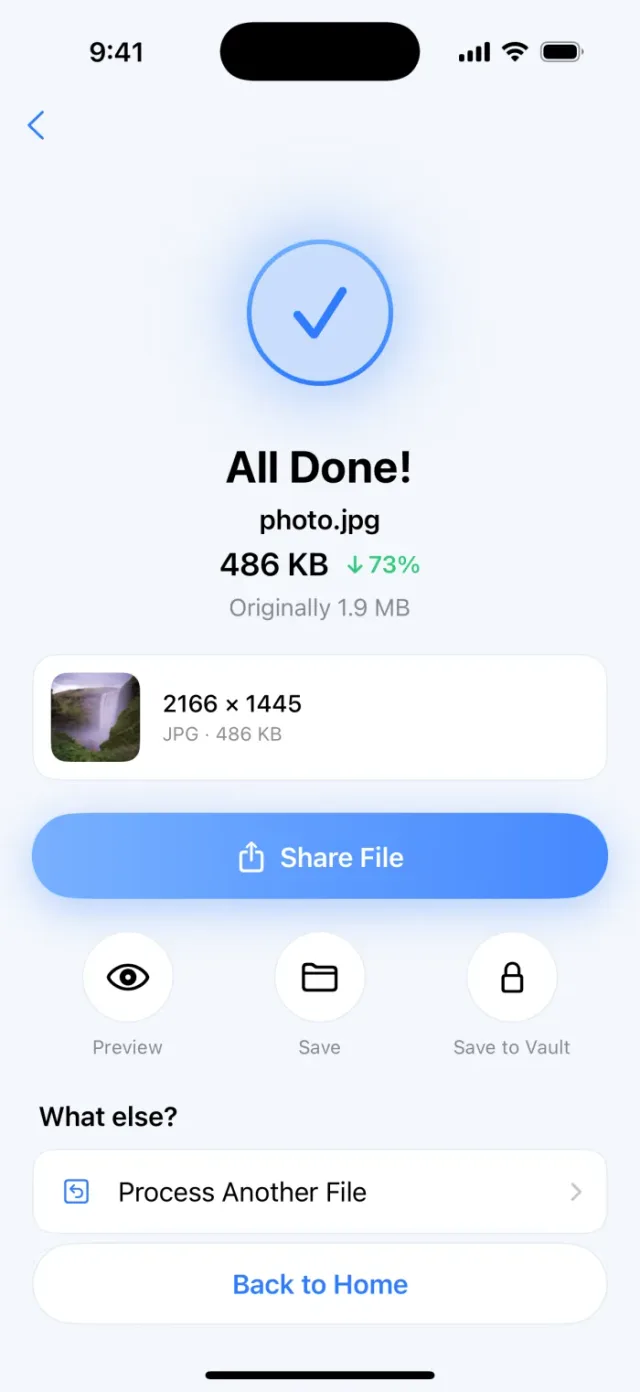
PassSize, mentioned in this guide, is currently in review · coming soon and can't be downloaded yet. Until it launches, you can use the built-in methods described here; this spot will turn into a download link once it is live.
Quick answer
iPhone can combine several photos into a PDF with built-in tools. In the Photos app, select the photos > Share > Save to Files. Then open the Files app, tap ”…” at the top right > Select, choose the photos, and tap ”…” at the bottom right > “Create PDF”. If you need to drag to reorder pages, choose A4 paper, add a password or compress to under 2MB, use PassSize’s photos to PDF to do it all in one go.
Method 1: Photos + Files app to make a PDF (built in, free)
Step 1: Save the photos to Files
- Open the Photos app, tap Select, and choose the photos to combine in order.
- Tap Share > Save to Files.
- Pick a folder that’s easy to find (for example create a new one called “Application documents”), and tap Save.
Step 2: Combine in the Files app
- Open the Files app and go into that folder.
- Tap ”…” at the top right > Select, and choose all the photos.
- Tap ”…” at the bottom right > Create PDF.
- A PDF appears in the folder. Open it and check the pages and order.
With just one photo, you can also press and hold it > Quick Actions > Create PDF. If you can’t find this option, your system may be an older version, so update iOS and try again.
- Pros: nothing to install, and it’s fast.
- Cons: page order is hard to control, you can’t choose the paper size, and you can’t limit the file size.
What if the page order gets mixed up?
When creating a PDF, the page order usually follows how the Files app is currently arranged, not the order you tapped in the Photos app. We suggest:
- After saving to Files, rename the photos in order as 01, 02, 03…
- In the folder, tap ”…” and sort by Name.
- Select them in that order, then Create PDF.
- Always open the PDF and flip through it from the start.
If you only notice the wrong order after the PDF is made, the Preview app on iOS 26 can add, delete, rotate and move PDF pages.
Method 2: Turn into a PDF with Print
This is a trick many people use: in the Photos app, select the photos > Share > Print, then pinch outward with two fingers on the thumbnails in the print preview. The view turns into a PDF preview, and then you tap Share > Save to Files.
The Print screen differs slightly between iOS versions. If the gesture doesn’t respond, Method 1 is more reliable. This method usually can’t control file size, and paper options depend on the print screen.
Comparing the methods
| Method | Reorder pages | Paper size | Password | Set file size | Cost |
|---|---|---|---|---|---|
| Create PDF in Files | By file name order | No | Separately in Preview | No | Free |
| Print to PDF | By selection order | Depends on the print screen | No | No | Free |
| PassSize | Drag to reorder | A4 / Letter / photo size | Yes | Yes | 5 free uses, then a one-time NT$60 purchase |
Combining PDFs is easier with PassSize
PDFs for applications often come with a pile of requirements: A4, in order, no more than 2MB. PassSize’s photos to PDF can:
- Drag to reorder, and the order you see is the page order.
- Choose paper as A4, Letter or the photo’s own size.
- Mix photos and PDFs into one file, for example combining a scanned ID with an existing application form.
- Add an open password.
- Compress to a set size to meet the upload limit.
- Work from the Photos app: select photos > Share > PassSize, with no need to open the app separately.
- Do everything on your phone, so your documents aren’t uploaded.
If you have paper documents, you can also scan them directly. See “How to scan a paper document into a PDF on iPhone”.
A heads-up: once iPhone photos are in a PDF, a few pages can go over 10MB. Check the file size before submitting, and if it’s too large see “How to compress a PDF that’s too large on iPhone”.
Continue with the complete guide: The complete guide to compressing photos and PDFs on iPhone →
Steps
- 1
Choose "Photos to PDF" and add photos
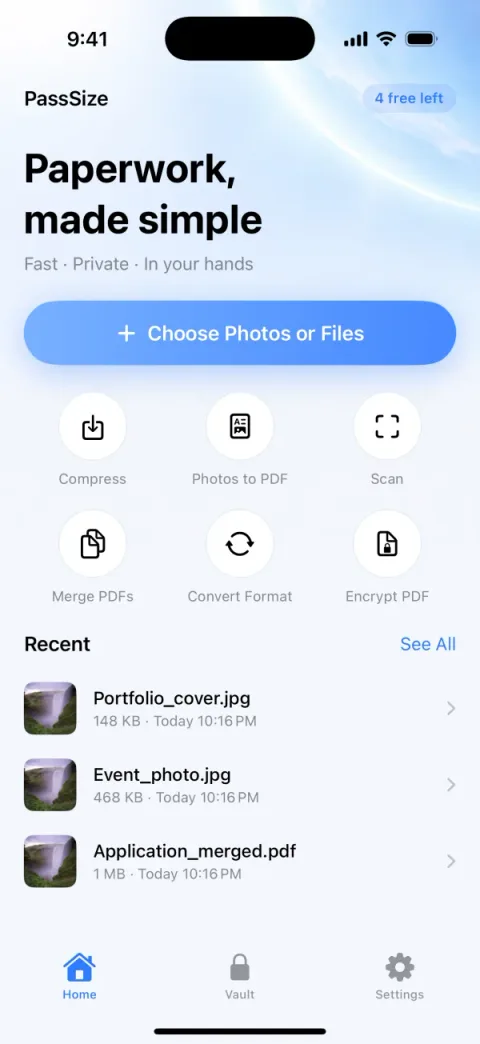
Open PassSize and tap "Photos to PDF", then choose the photos to combine from your library or the Files app. You can also add existing PDFs.
- 2
Drag to reorder and choose paper
Drag to change the page order and choose A4, Letter or the photo's own size. You can add an open password if you need one.
- 3
Compress to a set size and save
If the website has a size limit, set the target (for example 2MB). When it's done, save to Files or share directly.
Screens are examples; actual file sizes vary by photo.
Disclosure: PassSize is an app developed by this site's author (Charonyu). The built-in methods and other options described here all work without downloading our app.
FAQ
How is the page order decided for a PDF made in the Files app?
It usually follows the order the files appear in the Files app. The safest approach is to name the photos in order (01, 02, 03), sort by name, then create the PDF, and open it to check once it's done.
What if the combined PDF is too big?
Phone photos in a PDF can be several MB per page. You can shrink the photos before combining, or use a tool that compresses a PDF to a set size. See "How to compress a PDF that's too large on iPhone".
Can I combine photos with an existing PDF?
Create PDF in the Files app is mainly for images. PassSize can combine photos and PDFs into one file and lets you drag to reorder.
Can I add a password to a PDF?
Yes. The Preview app on iOS 26 can lock a PDF, and PassSize can also add an open password when combining photos into a PDF.