 Charonyu
How to customize your iPhone Home Screen
Start with the wallpaper, icon appearance (Dark, Tinted, and Clear on iOS 26), widgets and Smart Stacks, then use Focus to switch Home Screen pages. For photos and cute-style widgets, use Lumee's 17 styles and widgets.
 Charonyu・Guide・
Quick answer
Customizing your iPhone Home Screen takes four steps: pick a wallpaper first to set the colors, then use Edit > Customize to unify how icons look (from iOS 18 there are Dark and Tinted, iOS 26 adds Clear, and larger icons also hide app names), then use widgets and Smart Stacks for photos and the info you check often, and if you like, use Focus to switch between different Home Screens. For photo and cute-style widgets, you can use Lumee.
Step 1: Decide on a wallpaper and color palette
The wallpaper sets the colors of the whole Home Screen, so pick it first and the icons and widgets will be easier to match.
- On the Lock Screen, press and hold, tap the plus button to create a new wallpaper, and choose Photos or another wallpaper type.
- After tapping Add, choose “Customize Home Screen”. You can use a different photo for the Home Screen, switch to a solid color, or choose “Blur” so apps stand out more.
Try to keep the main colors to two or three. The icon tint and widget styles can follow those colors.
Step 2: Unify the app icon appearance (iOS 18 and later)
Press and hold an empty spot on the Home Screen until the icons jiggle, tap “Edit” at the top of the screen, then “Customize”:
| Option | Effect | Version |
|---|---|---|
| Dark | Icons and widgets use a dark look. “Automatic” follows the system Light/Dark appearance | iOS 18 and later |
| Tinted | All icons get the same color. Use the slider or the eyedropper to pick a color from your wallpaper | iOS 18 and later |
| Clear | Icons are translucent. You can then choose Light, Dark or Automatic | iOS 26 |
| Large icons | Icons get bigger and app names disappear | iOS 18 and later |
If you want a minimal Home Screen with no text, Large icons does it without any other app.
Step 3: Fill the key spots with widgets
Widgets make your Home Screen more than rows of icons:
- Add: press and hold an empty spot on the Home Screen > Edit > Add Widget, choose a size, drag it where you want it, and tap Done.
- Change: press and hold the widget > Edit Widget.
- Smart Stack: stack several widgets in one slot and swipe up or down to switch. The system also shows the most relevant one at the right moment based on time, location and more, which suits people who want a lot of information in limited space.
- Photo widget: putting a photo you love on the Home Screen is the fastest way to make it feel personal. See “How to put your own photos in a widget on iPhone”.
A layout tip: put only the apps you use every day and one or two widgets on the first page, and move everything else to the App Library or a second page. The Home Screen will look much cleaner.
Step 4: Switch Home Screens with Focus
Go to Settings > Focus, choose a mode (for example Work or Personal), and in its settings choose the Home Screen pages and Lock Screen to show when this Focus is on. That way you only see your work pages during work, and a different style after you switch off.
Build a whole style with Lumee
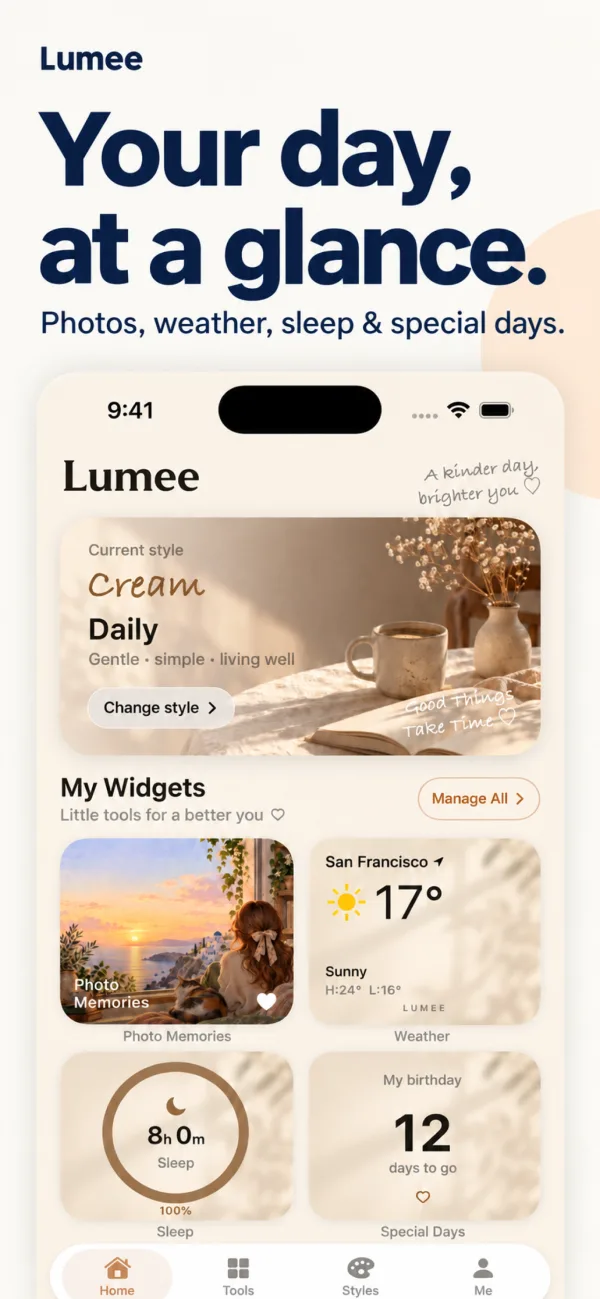
The built-in features can unify icons and colors, but widget style choices are limited. Lumee fills that gap:
- Photo widgets: use your own photos and keep important moments on your Home Screen.
- 17 styles: Cream, Sky, Rosy, Night, Pixel Arcade, Game HUD and more. 5 are free and Pro unlocks all. Styles apply to Lumee’s widgets, while system app icons and the wallpaper are still adjusted with the built-in settings above.
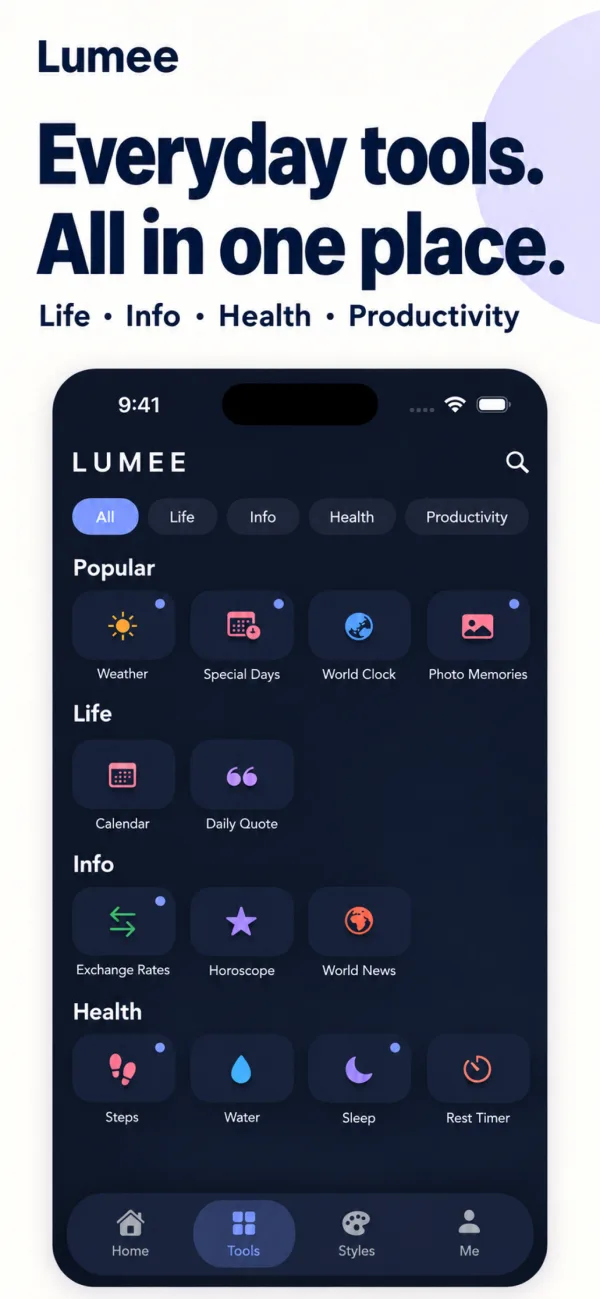
- Everyday tool widgets: important days, weather, calendar, world clock, quote of the day, step count, water, sleep, to-dos, exchange rates, horoscope and more.
- International news: BBC world headlines, visible right on your Home Screen.
- Lock Screen widgets: weather, important days, step count and more. See “How to add widgets to your iPhone Lock Screen”.
The steps are as follows.
A heads-up: when you choose Dark, Tinted or Clear in Customize, third-party widgets (including photo widgets) may take on that look too. If you want a photo widget to keep its original colors, avoid appearances that change color, like Dark or Tinted.
Continue with the complete guide: iPhone Home Screen widgets and photo layout guide →
Steps
- 1
Pick a style
Open Lumee and choose one of the 17 styles, such as Cream, Sky, Night or Pixel Arcade. The home screen and widgets change together.
- 2
Choose your widgets
Pick Photo Memories to show photos you love, or choose everyday tools like weather, important days and step count.
- 3
Add them to your Home Screen
Press and hold an empty spot on the Home Screen > Edit > Add Widget, search for Lumee, choose a size, add it and arrange it.
Screens are examples; actual file sizes vary by photo.
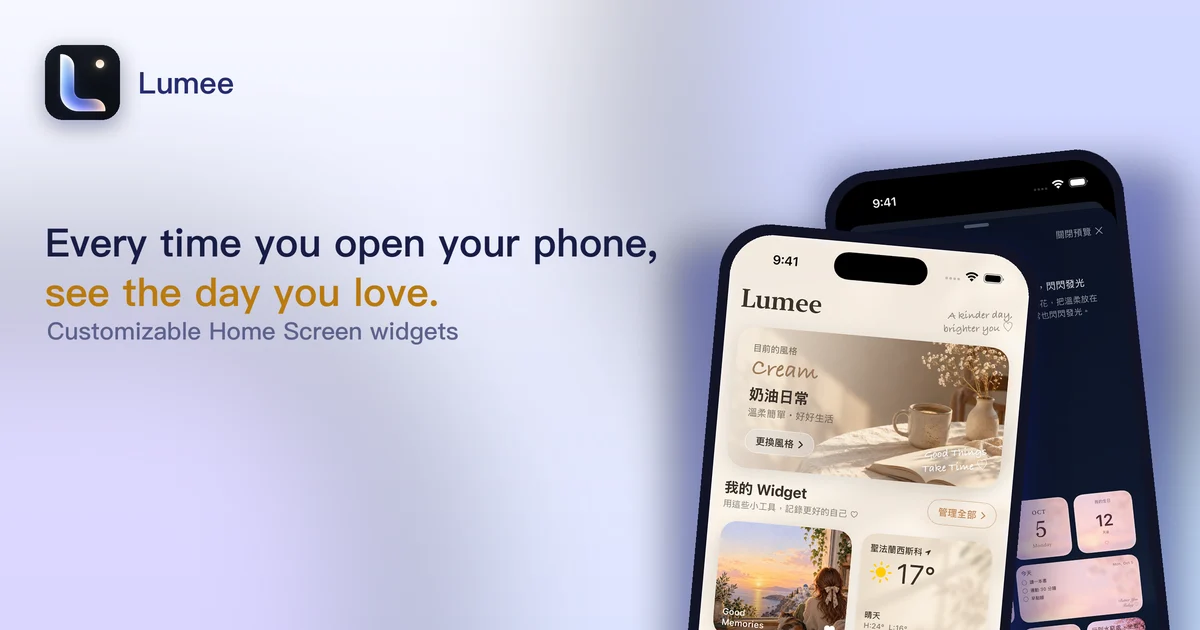
Disclosure: Lumee is an app developed by this site's author (Charonyu). The built-in methods and other options described here all work without downloading our app.
FAQ
Can I hide the app names under the icons on iPhone?
Yes, from iOS 18. Press and hold an empty spot on the Home Screen > Edit > Customize, and change the icons to Large. The app names disappear.
How do I turn on Clear icons in iOS 26?
Press and hold an empty spot on the Home Screen > Edit > Customize > Clear, then choose Light, Dark or Auto.
Can I change all app icons to one color in one step?
Yes, from iOS 18. In Customize, choose Tinted, pick a color and saturation with the slider, or use the eyedropper to pick a color from your wallpaper. All icons and widgets are updated together.
Can I have several Home Screen styles and switch between them?
Yes, with Focus. Assign Home Screen pages and a Lock Screen to each Focus, and your Home Screen changes when you switch Focus.
Does Lumee cost money?
It's free to download and use, and 5 styles are free. Lumee Pro is a one-time NT$120 purchase that unlocks all styles and features permanently, with no monthly subscription.