 Charonyu
How to back up iPhone photos to a computer or external drive without paying for iCloud
On a Mac, connect with a cable and use Import in the Photos app. On Windows, install the Apple Devices app from the Microsoft Store and import with Microsoft Photos. Or plug a flash drive or hard drive into iPhone and choose Export Unmodified Original in Photos. Check the files open before deleting from your phone.
 Charonyu・Guide・

Quick answer
You can back up without iCloud in three main ways. On a Mac, connect with a cable and open the Photos app > Import. On Windows, first install the Apple Devices app from the Microsoft Store, then import with the Microsoft Photos app. To save straight to an external drive, plug a flash drive or hard drive into iPhone, pick photos in the Photos app > Share > Export Unmodified Original. After backing up, always spot-check that the files open, and only then delete photos from your phone.
Before you start: make sure your phone has the originals
If you’ve used iCloud Photos with “Optimize iPhone Storage”, your phone may keep only reduced-size versions. Apple’s guidance is that when iCloud Photos is on, you should first download the original full-resolution versions to iPhone and then import to a PC.
To check: Settings > tap your name > iCloud > Photos. Switching to Download and Keep Originals needs enough free space on your phone, so with a big library you’ll have to work in batches. If iCloud Photos is off, your phone already holds the originals and you can skip this step.
Method 1: back up to a Mac
Following Apple’s instructions:
- Connect iPhone to your Mac with a USB cable. If you see a prompt to allow the accessory to connect, tap Allow.
- Open the Photos app on your Mac. The Import screen appears (if it doesn’t, click the device name in the sidebar).
- Unlock iPhone when prompted, and tap Trust when “Trust This Computer” appears.
- Choose which album to import into.
- Click Import Selected or Import All New Items, and wait until it finishes before unplugging.
If you’d rather save photos into a folder on your Mac instead of the Photos library, use the Image Capture app.
Method 2: back up to a Windows PC
- Install the Apple Devices app from the Microsoft Store.
- Connect iPhone with a USB cable, unlock it, and tap Trust or Allow when “Trust This Computer” appears.
- Open the Microsoft Photos app in Windows and use its import feature to bring the photos onto your PC (follow Microsoft’s instructions for the exact steps).
HEIC compatibility: iPhone shoots HEIC by default. Apple notes that when you import over USB to Photos, Image Capture or a PC, HEIF/HEVC media may be converted to JPEG or H.264. If you don’t want it converted, go to Settings > Apps > Photos (Settings > Photos on iOS 17 and earlier), scroll down to the setting for transferring to Mac or PC, and choose Keep Originals. To have fewer format problems on Windows, leave the other option, Automatic, selected. For background on the format, see What is HEIC?
Method 3: save straight to a flash drive or external hard drive
You don’t need a computer. USB-C iPhones (iPhone 15 and later) make this easiest; Lightning models need an adapter bought separately.
- Plug the flash drive or hard drive into iPhone’s charging port. External hard drives usually need external power, and USB-C models can use a powered USB hub.
- Open the Photos app and select the photos and videos to back up.
- Tap the Share button > Export Unmodified Original.
- Under Locations, tap the external device, choose a folder and tap Save.
Things to note:
- This exports the unmodified original version, so edits you made on iPhone aren’t included.
- When the Hidden album is locked, the photos in it aren’t sent.
- The drive must have a single partition formatted as APFS, Mac OS Extended (HFS+), exFAT, FAT32 or FAT.
Comparing the methods
| Method | Needs a computer | Extra cost | Good for |
|---|---|---|---|
| Mac Photos / Image Capture | Mac | Free | People with a Mac |
| Windows Apple Devices + Microsoft Photos | Windows PC | Free | People on Windows |
| External hard drive / flash drive | No | Cost of the drive and adapter | Anyone who wants a physical backup and doesn’t want to start a computer |
Before deleting: make sure the backup is really done
This is the step people skip most, and the most important one:
- Count: compare the number of files on your computer or drive with the number of photos on your phone for that period. They should be about the same.
- Spot-check: open a few photos and videos at random and check they play and aren’t 0 KB.
- Two copies are safer: keep important photos in two places, for example one copy on a computer and one on a drive.
If iCloud Photos is on, deleting on your phone also syncs the deletion to iCloud and your other devices, so think it through first.
After backing up, clean up your phone with Swipee
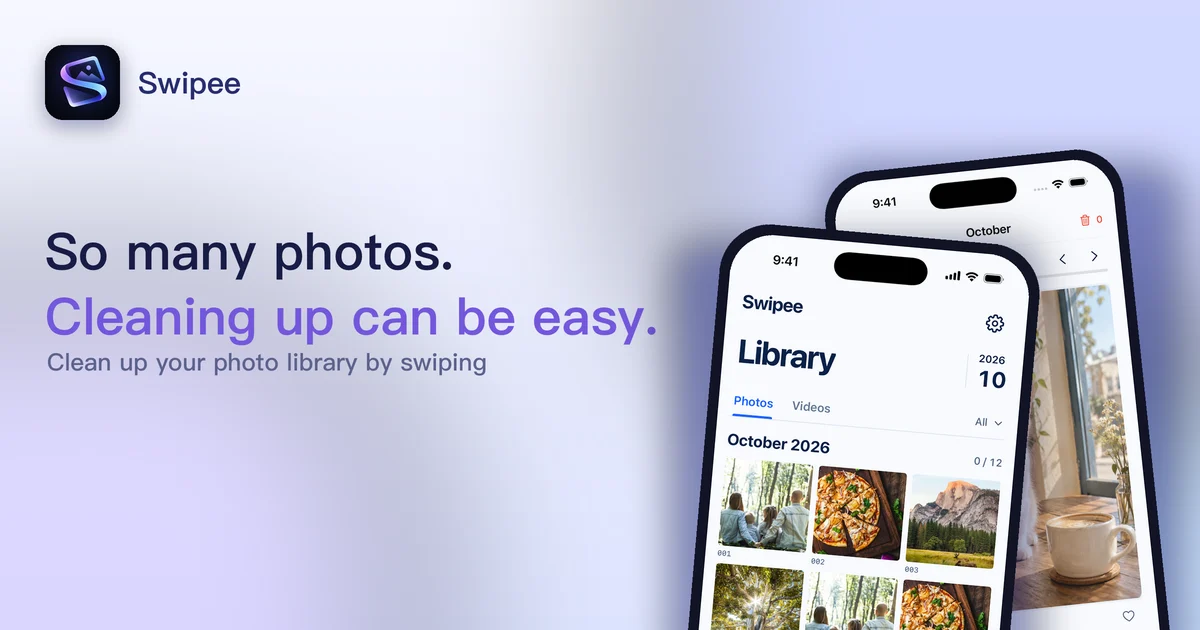
Once everything is backed up, you can clean your phone with peace of mind. Swipee makes this step less tiring:
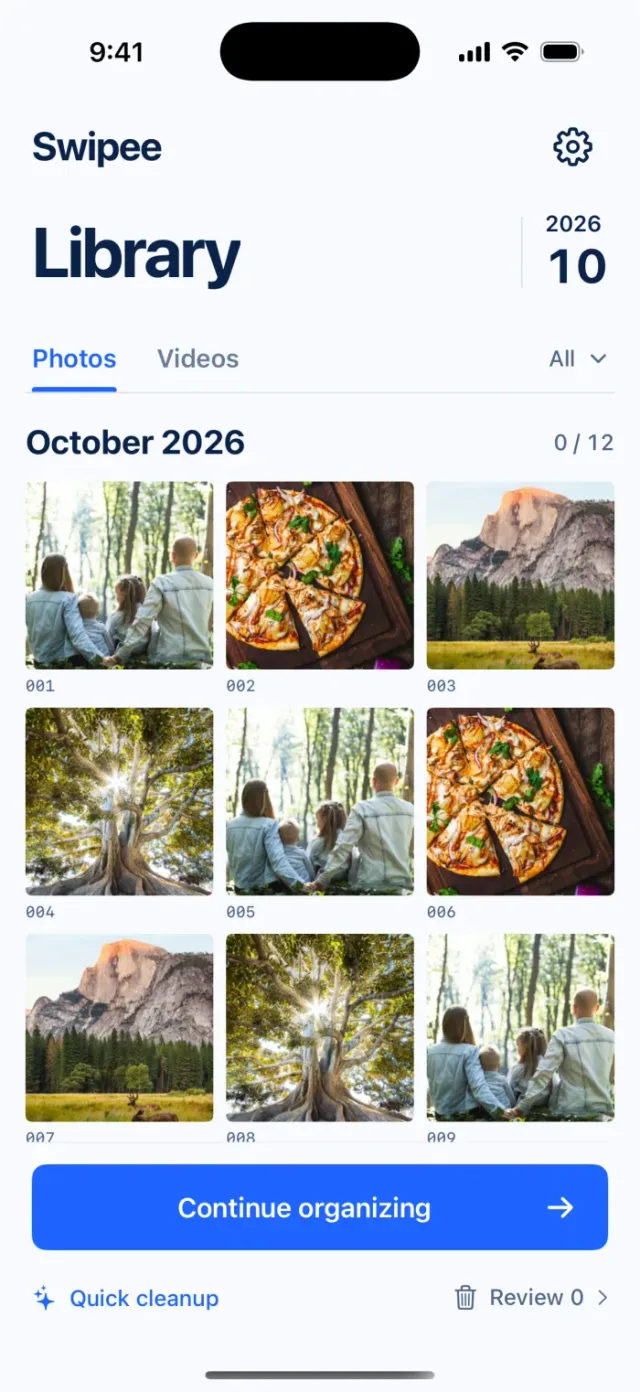
- Browse by month and clean up one month at a time, with monthly progress tracking.
- Swipe left to mark for deletion, swipe right to keep, and undo if you change your mind. You can browse both photos and videos.
- Photo comparison: check photos taken close together side by side (grouped by capture time, so they aren’t guaranteed to be duplicates), look at each one, then choose to keep or mark for deletion.
- Content category suggestions: pick a date range and try topic or people grouping suggestions (may be inaccurate and don’t identify people by name), then add the selected photos to an album.
- You can review items marked for deletion and restore them one by one. The actual deletion still needs confirmation from Apple’s Photos system.
Tip: after deletion, photos stay in Recently Deleted for 30 days first, so your free space doesn’t grow right away. Once you’re sure you don’t need them, permanently delete them from Recently Deleted. See I deleted lots of photos but my iPhone storage didn’t go down for details.
Continue with the complete guide: iPhone photo library cleanup and storage guide →
Steps
- 1
Confirm the backup is complete
Spot-check a few photos and videos on your computer or drive to make sure they open properly before you start cleaning your phone.
- 2
Clean up by month with Swipee
Open Swipee, pick a month, swipe left to mark for deletion and right to keep. You can undo if you change your mind.
- 3
Empty Recently Deleted
Go back to the Photos app and permanently delete items in Recently Deleted. Only then is the space actually freed.
Disclosure: Swipee is an app developed by this site's author (Charonyu). The built-in methods and other options described here all work without downloading our app.
FAQ
With "Optimize iPhone Storage" on, can I just connect to a computer and back up?
Be careful, because your phone may only hold reduced-size versions. Apple's guidance is that if iCloud Photos is on, you should first download the original full-resolution photos to iPhone before importing to a PC.
The photos I sent to Windows are HEIC and won't open. What do I do?
Go to Settings > Apps > Photos, scroll down to the setting for transferring to Mac or PC, and make sure it is set to Automatic rather than Keep Originals. Importing over USB can then convert to a compatible format such as JPEG. Or install a viewer on your computer that supports HEIC.
My external hard drive does nothing when I plug it into iPhone?
Apple notes that external hard drives usually need external power, and USB-C models can use a powered USB hub. The drive must also have a single partition in a supported format such as APFS, exFAT or FAT32.
Once backed up, can I delete all the photos from my phone?
Spot-check that the backup is complete and opens, and ideally keep one more copy (for example one on a computer and one on a drive). If iCloud Photos is on, deleting on your phone also deletes from iCloud and your other devices.