 Charonyu
How to take a photo that matches a reference photo from the internet
To recreate a reference photo, first work out its lens zoom, camera height, distance, subject position and light direction, then match them one by one on location. Includes a pre-shoot checklist and how to overlay the reference on your camera with SamePhoto.
 Charonyu・Guide・
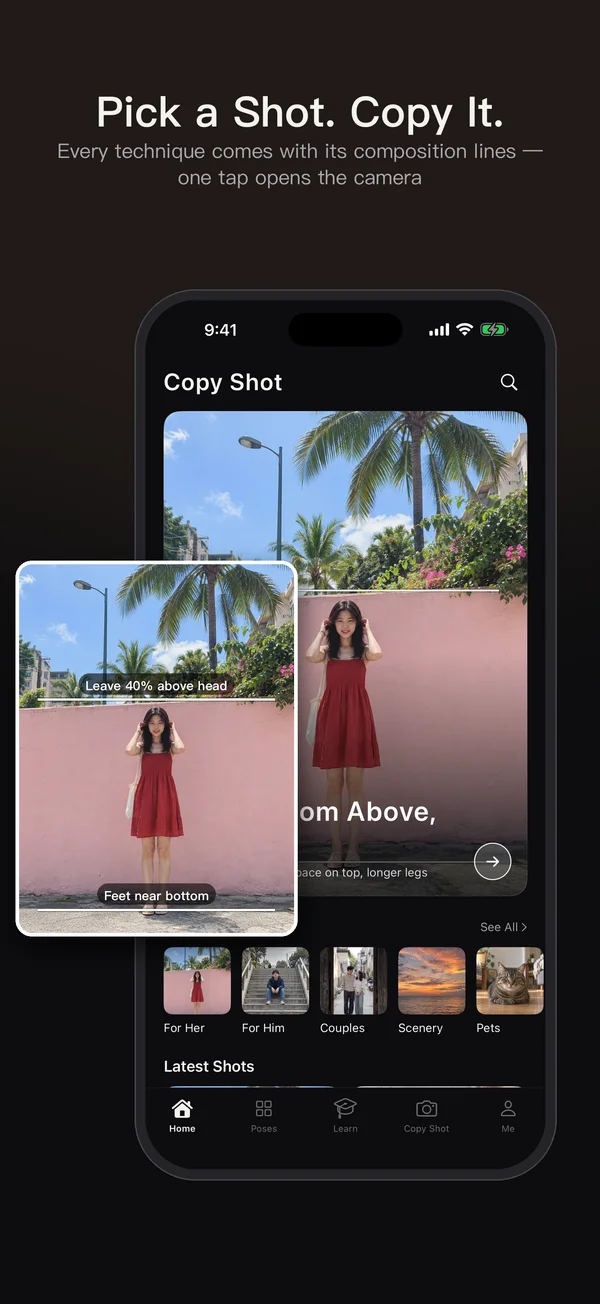
SamePhoto, mentioned in this guide, is currently in review · coming soon and can't be downloaded yet. Until it launches, you can use the built-in methods described here; this spot will turn into a download link once it is live.
Quick answer
To match a reference photo, copy five things: lens zoom (0.5x / 1x / 2x…), camera height, shooting distance, where the subject sits in the frame, and light direction and time of day. Analyze the reference first, then match each one on location. Without downloading another app, turn on the iPhone camera’s Grid, note which cell of the grid the subject falls in and which line the horizon is on in the reference, then compare your shot side by side with it, adjust and retake. To match as you look, you can also use an app that overlays the reference semi-transparently on the camera view, such as SamePhoto.
Step 1: Work out which zoom the reference used
Depending on the model, iPhone has 0.5x, 1x, 2x, 3x (or longer) zooms, with equivalent focal lengths of roughly 0.5x = 13mm, 1x = 24 to 26mm and 2x = 48 to 52mm. To be clear, how far and how big the background looks (perspective) is really decided by the distance between the camera and the subject; zoom decides how much gets framed. But to make the subject the same size at different zooms you have to stand at different distances, so in practice:
- 0.5x ultra wide: usually shot very close, with a wide background, edge lines stretching outward and nearby things looking especially big. Common in architecture, seascapes and low-angle portraits that make legs look long.
- 1x main camera: the zoom used most for everyday and food photos.
- 2x and up: usually shot from farther back, so the background looks relatively large, as if pulled in, and faces have more natural proportions. Common in portraits and street photography.
How to judge: look at the size relationship between the person and the background in the reference. If a building looks “stuck” right behind the person, use 2x or more and stand farther back.
Step 2: Work out camera height and angle
- Height: is the lens at eye, chest or knee level? A low angle makes legs look long, and a high angle looking down makes people look small.
- Tilt angle: look at the vertical lines in the reference (wall corners, pillars). Lines narrowing upward mean shooting upward, lines narrowing downward mean shooting downward, and nearly vertical lines mean the phone was held very level.
- Left-right angle: whether it is straight on, 45 degrees to the side or fully side-on shows in the edges of buildings or tables.
Step 3: Subject position and distance
- Is the person on the left, right or center of the frame? How far is the top of the head from the top edge? Are the feet in the shot?
- How much of the frame does the subject fill? Once the zoom is set, move your feet forward and back to adjust the size, rather than pinch-zooming.
- Watch the reference’s aspect ratio: 3:4 portrait, 1:1 square or 9:16 full screen. With a different ratio the composition won’t line up.
Step 4: Light direction and time of day
- Which side the shadows fall on: does the light come from the left, the right, the front or behind (backlight)?
- Shadow length: long and soft is usually after sunrise or before sunset, short and hard is usually midday.
- Color temperature: warm orange may mean evening, and cool blue may mean an overcast day or just after sunset.
When the light is very different, even a matching composition won’t give the same mood, so consider going back at a similar time of day.
Pre-shoot checklist
| Item | What to check |
|---|---|
| Zoom | Does the reference look like 0.5x, 1x or 2x and up? |
| Ratio | 3:4, 1:1 or 9:16? |
| Height | Is the lens at eye level, chest level or lower? |
| Angle | Shooting up, down or level? |
| Subject position | Left, right or centered? How much room above the head? |
| Distance | Set the zoom first, then use your feet to adjust size |
| Light | Which direction does it come from? What time of day? |
Start from a built-in example in SamePhoto
Open the pose library, pick a photo you like and check its zoom, camera height and shooting distance. Tap Copy Shot to open the camera with its outline and composition lines. Follow the live coaching to move closer, farther or sideways until you see “That’s it!”. After shooting, compare your photo side by side with the example, choose a look from the 28 filters and save.
Example and lesson pictures are AI illustrations for composition practice. You can also import your own reference. SamePhoto is a paid download with every feature included, without an in-app unlock or subscription.
Overlay and match directly with SamePhoto
Matching position from memory is hard. The reference matching in SamePhoto overlays the reference photo on the camera:
- Pick a photo from your library, or send it in from Instagram and similar apps through the share sheet.
- The reference is overlaid semi-transparently or slightly blurred on the viewfinder, and you can drag, zoom and rotate it to align.
- Press and hold to see the original, which makes comparing details easy.
- The reference is used only for alignment and is not captured in the photo; both photos and references stay on your phone.
- You can also combine it with the 12 composition guides, such as “Rule of thirds” and “Upper-third horizon”. For an explanation, see Phone photo composition: 12 types explained.
A quick reminder: pick the right zoom and distance first, then align. If you stand at the wrong distance, even with the person in the same spot and the same size, the background won’t be the same size.
Steps
- 1
Import the reference photo
Open SamePhoto and pick the reference from your library, or send it in from Instagram and similar apps through the share sheet. If what you share is a link, save the image to your library first and pick it from there.
- 2
Overlay it on the camera and align
The reference appears semi-transparent or slightly blurred over the viewfinder. Drag, zoom and rotate it into place, then move your feet and the phone to line up the people and background lines.
- 3
Press and hold to compare, then shoot
Press and hold to see the original, and shoot once the position and angle are close. The reference is not captured in the photo.
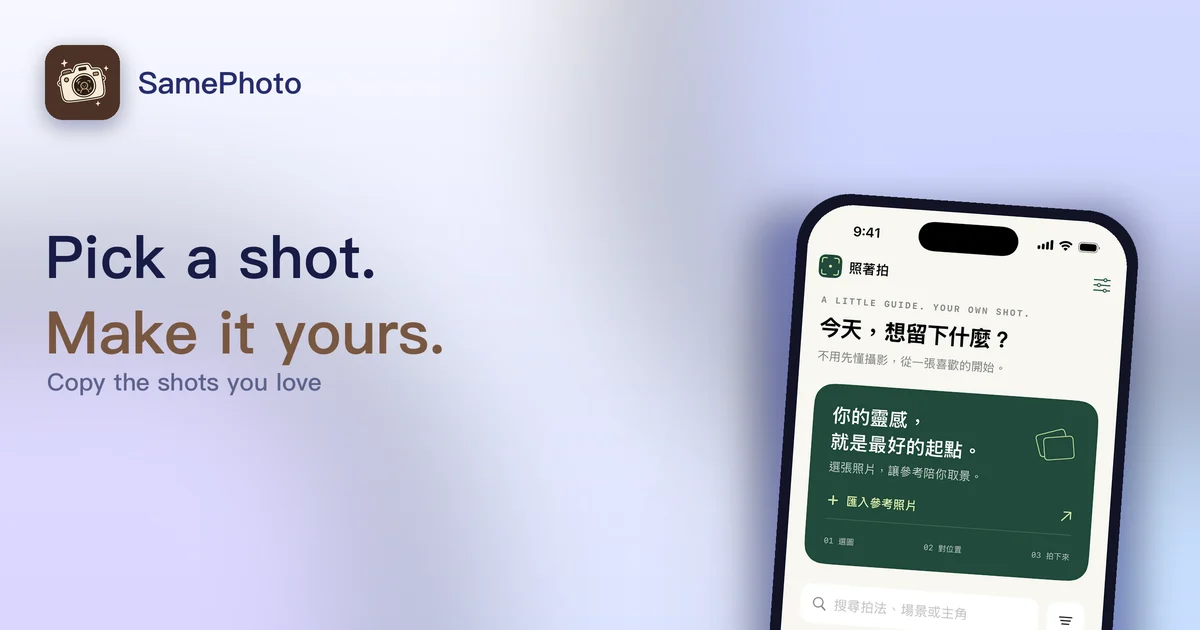
Disclosure: SamePhoto is an app developed by this site's author (Charonyu). The built-in methods and other options described here all work without downloading our app.
FAQ
I'm standing in the same spot, so why doesn't it look the same?
The most common reason is a different shooting distance and zoom. Shooting close at 0.5x and shooting from farther back at 2x can give the same subject size, but because you are standing at different distances, the background and the proportions of the face differ a lot.
How can I tell whether the reference used a wide or telephoto lens?
Look at the background. A very wide background, edge lines stretching outward and nearby things looking especially big usually mean a wide lens up close. A background that looks big and "pulled in" usually means the photographer stood farther back and zoomed to 2x or more.
How do I copy the light in the reference?
Use the shadow direction and length to work out where the light comes from and how high the sun is. Long, soft shadows are usually early morning or late afternoon; short, hard shadows are usually midday. Shoot at a similar time of day, from the same light direction.
Is the reference photo captured in my picture in SamePhoto?
No. The reference is only overlaid on the viewfinder to help you line up, and the photo you take doesn't contain it.
Can I use a photo I saw on Instagram as a reference?
Yes, you can send it into SamePhoto from Instagram and similar apps through the share sheet as a shooting reference. If what you share is a link, save the image to your library first and import it. The reference stays on your phone and is for practicing composition, so don't publish someone else's photo as your own work.