 Charonyu
How to turn on the iPhone camera grid and level
Go to Settings > Camera and turn on Grid and Level, and the camera shows a 3x3 grid and a level line to help you align your composition and keep the horizon straight. How to turn them on, how to use them, and what to do when you need more guide lines.
 Charonyu・Guide・

SamePhoto, mentioned in this guide, is currently in review · coming soon and can't be downloaded yet. Until it launches, you can use the built-in methods described here; this spot will turn into a download link once it is live.
Quick answer
Open Settings > Camera and turn on Grid and Level. When you open the camera, a grid (two horizontal and two vertical lines) appears, and when the phone is close to horizontal a level line also appears, which joins into one straight line when you’re aligned. Both only show in the viewfinder and are not captured in the photo. Since iOS 17, Level is a separate switch that you turn on separately.
How to turn on the grid and level
- Open the Settings app.
- Tap Camera.
- Turn on Grid and Level.
No restart is needed. Just open the Camera and you’ll see them.
Version note: before iOS 17, the leveling aid appeared together with Grid. Since iOS 17, Level is its own switch and has to be turned on separately.
How to use the grid
The grid is the rule-of-thirds grid, and it has three uses:
- Place your subject: put a person, building or main object near the four intersections, and the picture feels more layered than with the subject dead center. For details on placement, see How to use the rule of thirds when taking photos with your phone.
- Place the horizon: if the sky is the nice part, let the horizon sit on the lower line. If the ground is the nice part, put it on the upper line.
- Check for tilt: when shooting buildings, doors and windows, keep vertical wall corners or pillars parallel to the lines and the picture won’t look like it leans to one side.
How to use the level
When it’s on, and the phone is close to horizontal but still slightly tilted, a level line appears in the middle of the screen. Turn the phone slowly until the line joins into one straight line, which means the shot is straight.
Good uses for the level:
- Scenery with a clear horizon, such as the sea, a lake or grassland.
- Architecture and interiors, where a tilted wall or window frame is very obvious.
- Flat shots of a dining table or desk, to keep the table edge from leaning.
If you’re deliberately shooting a tilted angle for a dynamic look, just ignore the level.
When the built-in grid isn’t enough
iPhone’s built-in option is just the one grid style. If you want more specific hints such as “horizon on the upper third”, “subject in the center” or “road leading to a vanishing point”, you need a camera app that can switch between different guide lines. For an explanation of 12 common compositions, see What composition methods are there for phone photos? 12 compositions at a glance.
Switch between 12 guide lines with SamePhoto
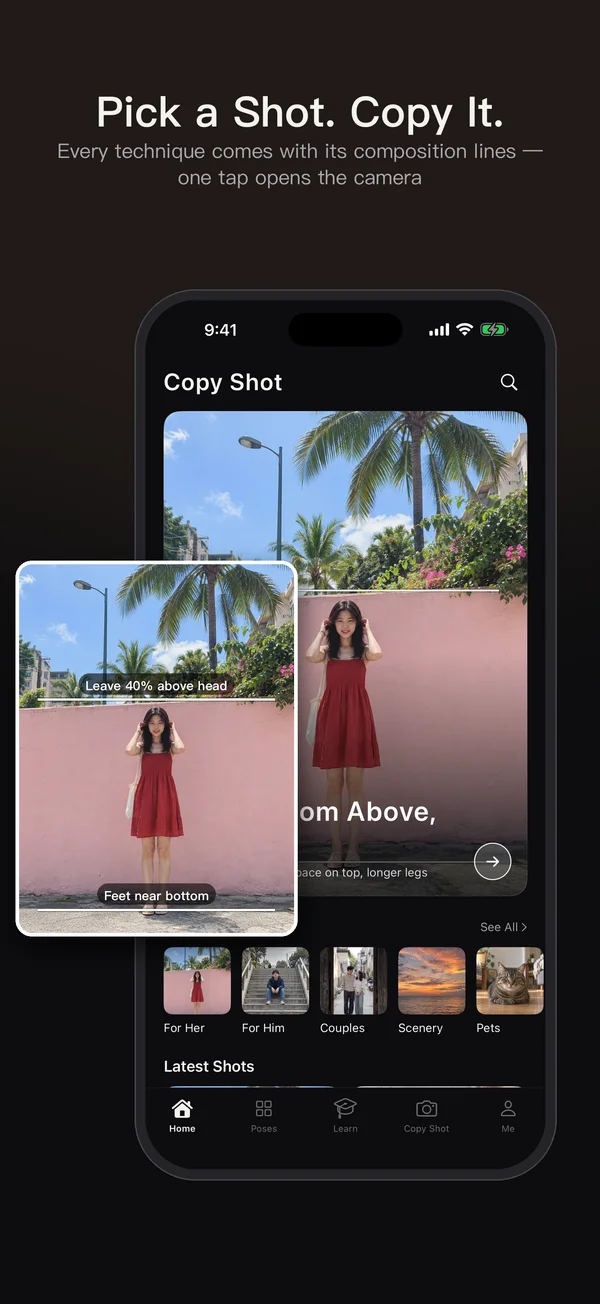
SamePhoto turns common compositions into reference lines that overlay the camera:
- 12 guide lines: rule-of-thirds grid, center symmetry, space above and below, space left and right, upper-third horizon, lower-third horizon, center reflection line, single subject frame, two-person subject zone, three-object triangle, leading lines to a vanishing point, and foreground framing.
- Drag to adjust, for example moving the horizon line to the height you want.
- Guide lines are not captured in the photo.
- It’s also a full camera: tap to focus, AE/AF lock, multi-lens switching and a timer, with 3:4, 1:1 and 9:16 aspect ratios.
- After shooting you can crop and straighten, and 24 filters can be previewed before you shoot.
Tip: the level mainly shows whether you’re tilted left or right. It doesn’t tell you whether the phone is tilted upward. If walls narrow toward the top when you shoot a building, it’s because the phone is tilted up. Hold the phone upright or step back, rather than rotating the phone.
Steps
- 1
Open SamePhoto and choose a guide line
Switch guide lines on the camera screen. Besides the rule of thirds, there are 12 in total, including upper-third horizon, center symmetry and leading lines to a vanishing point.
- 2
Drag to adjust the position
Guide lines can be dragged, for example moving the horizon line to where the sea meets the sky, then lining up your phone.
- 3
Shoot, then straighten if needed
Guide lines aren't captured in the photo. If the shot looks slightly tilted, use the built-in editor to crop and straighten.

Disclosure: SamePhoto is an app developed by this site's author (Charonyu). The built-in methods and other options described here all work without downloading our app.
FAQ
Does the grid get captured in the photo?
No. The grid and level only show on the camera screen, and the photos and videos you take don't contain those lines.
I turned on the grid but don't see the level?
Since iOS 17, Level is a separate switch that you turn on in Settings > Camera. Also, the level line usually appears only when the phone is close to horizontal. You won't see it when the phone is held very tilted, so hold it roughly flat first.
Can I change the iPhone grid to another style?
The built-in option is a single 3x3 grid. It can't be changed to diagonals, the golden ratio or other guide lines. For other styles you need a third-party camera app.
What if the photo is already tilted?
In the Photos app, open Edit and use the straighten control in the crop tool to fix the horizon. You can also adjust vertical and horizontal perspective. Straightening crops off a bit of the edge, so leave some room when you shoot.